“I Tried The Viral Blush Trend – Here’s How It Went”
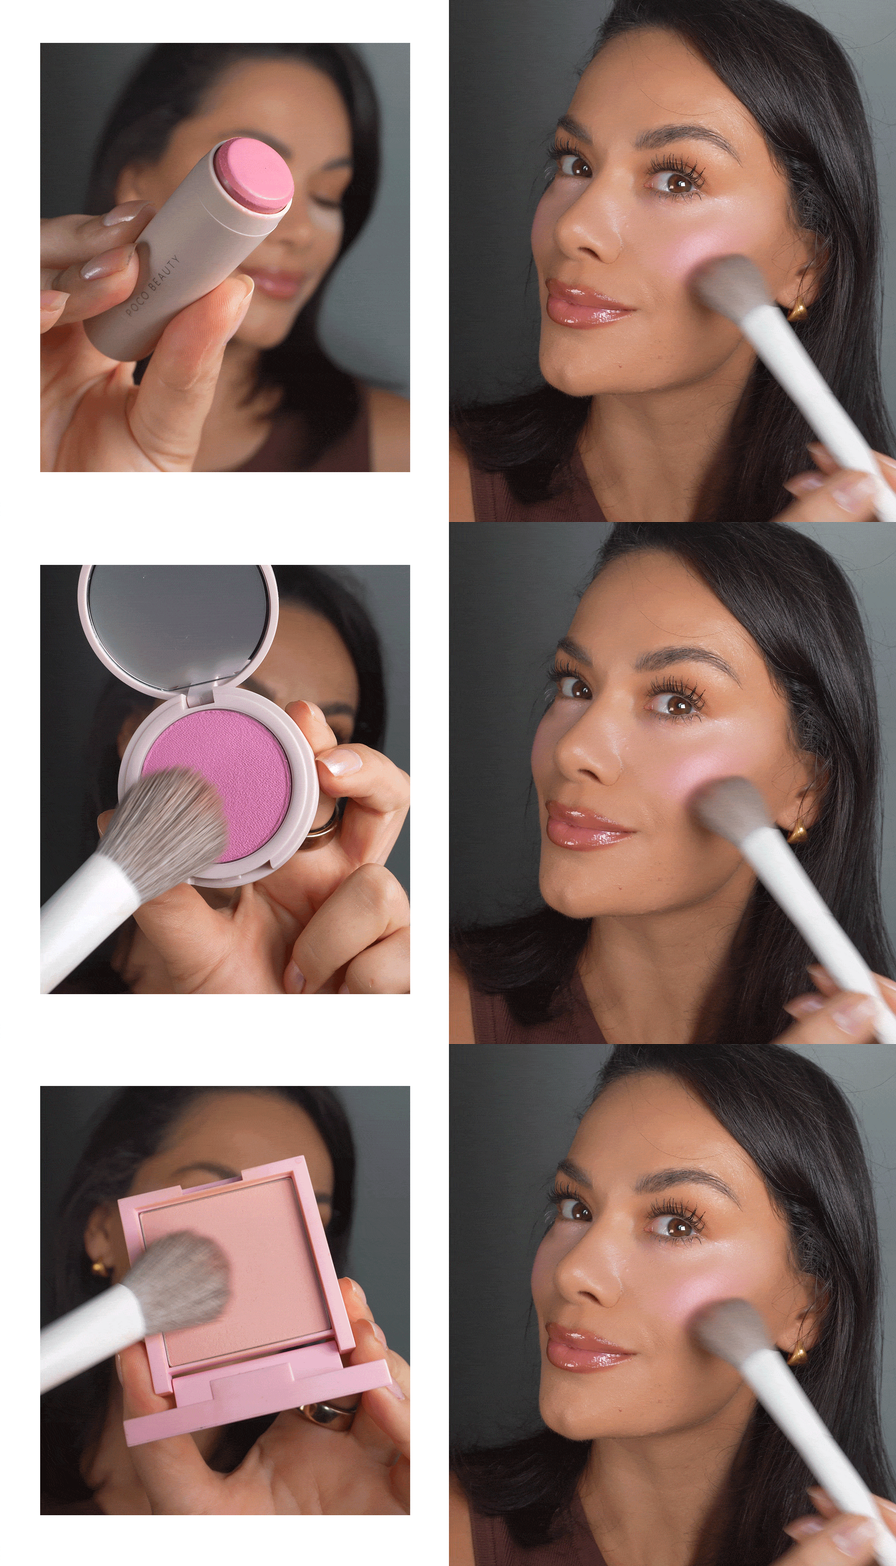
When a blush technique starts taking over TikTok, you can bet I’m paying attention. The latest is frostbitten blush: a softly sculpted, doll-like flush created by blending baby-pink blush from beneath the eyes down onto the cheeks.
The result is brightened, lifted-looking skin with an ultra-flattering pop of pink – perfect if, like me, you suffer from a little ‘blush blindness’ and are ready to lean all the way in.
Daisie, Beauty Contributor

Step 1: Creamy concealer base
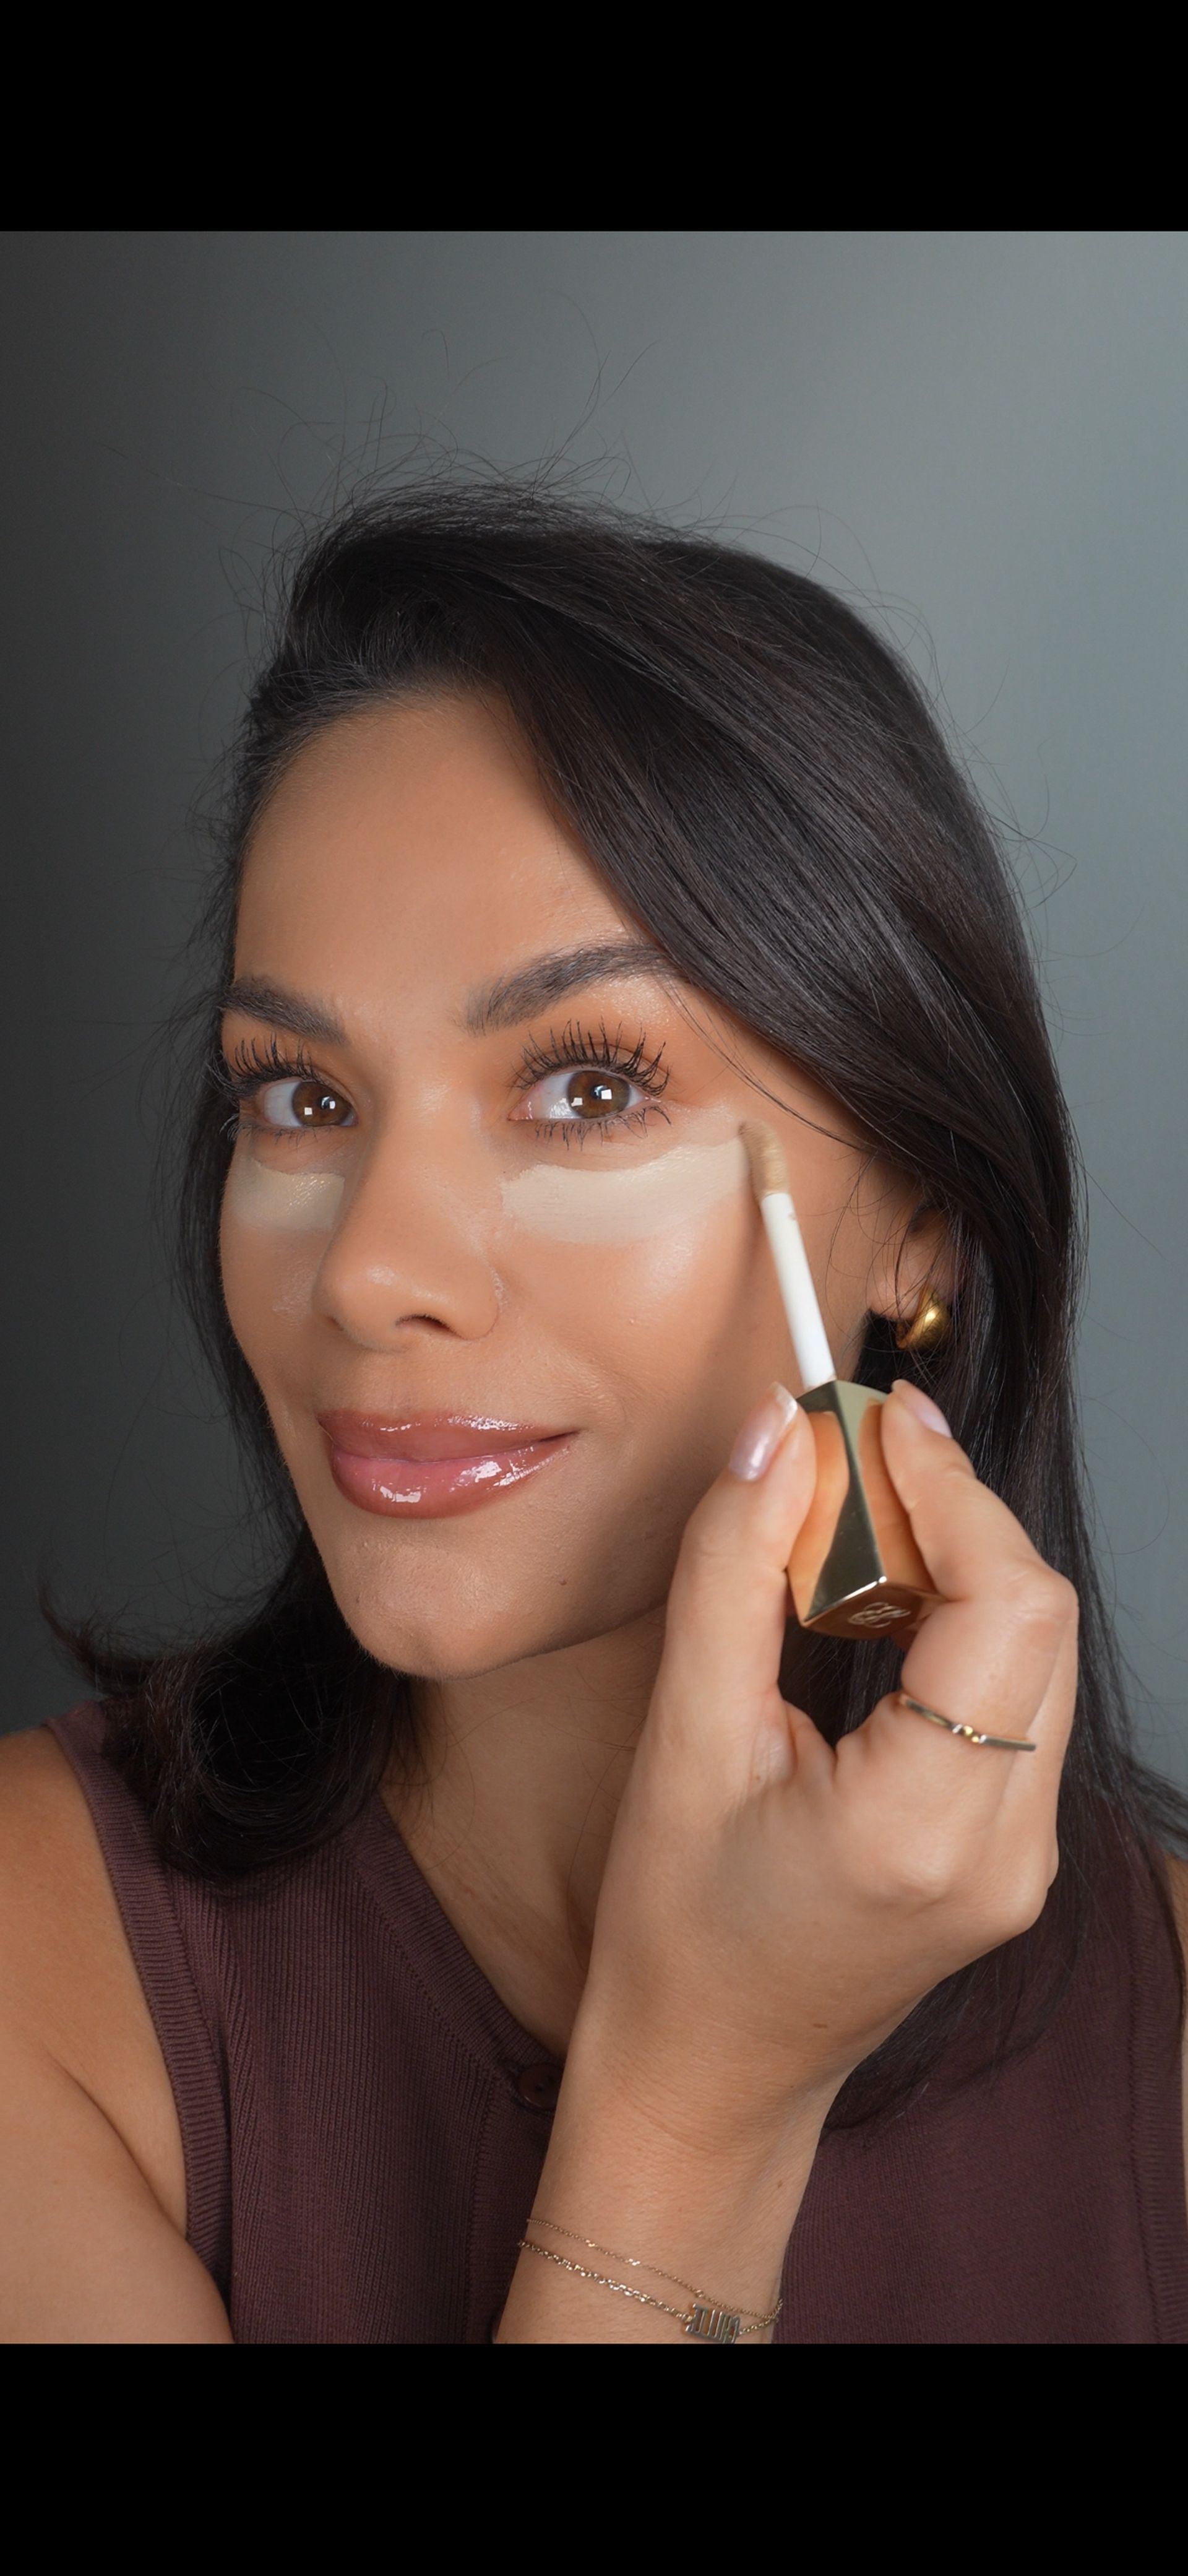
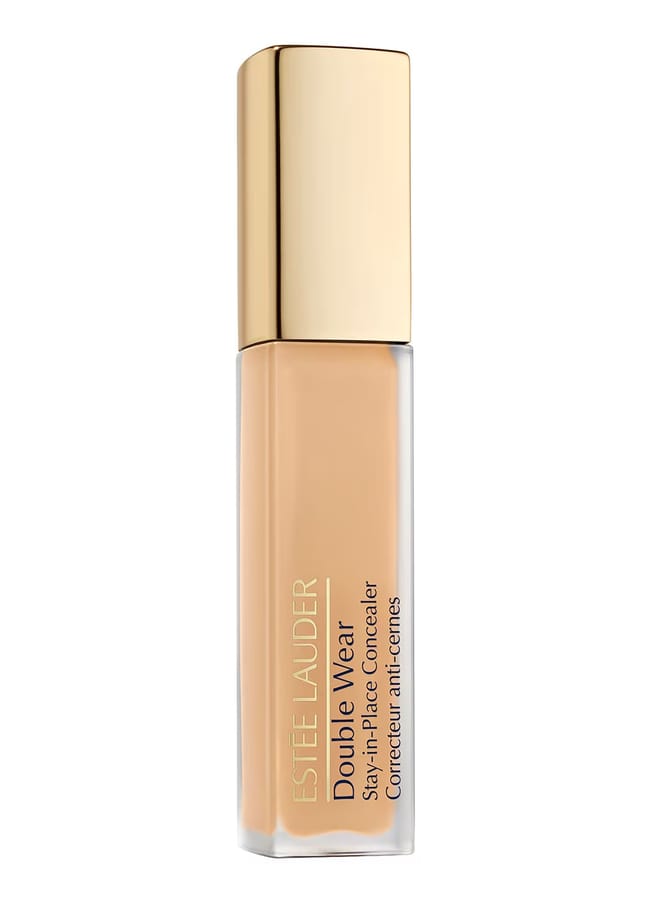
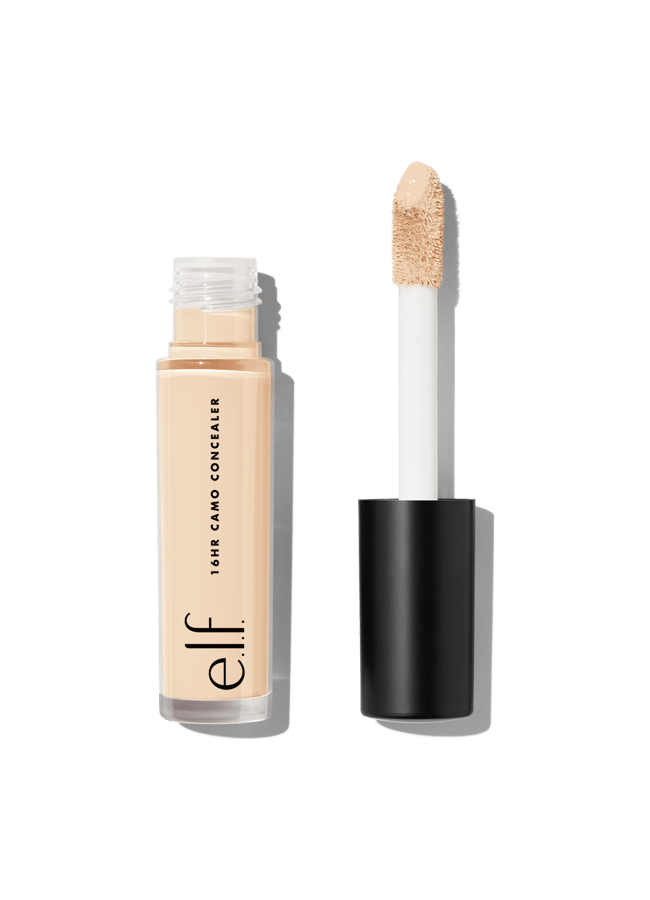
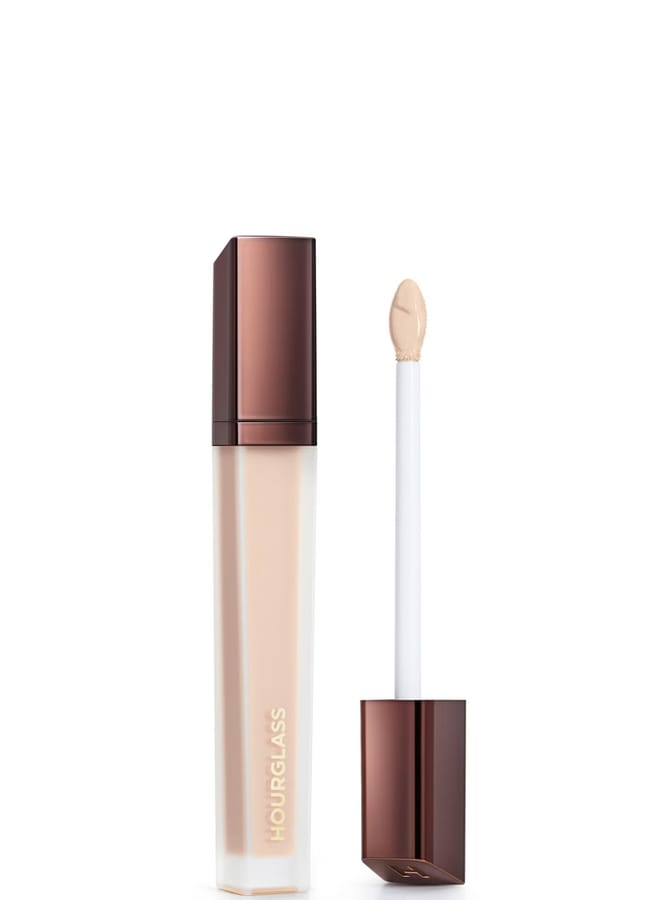
To start, reach for a creamy, full-coverage concealer and apply a generous amount beneath the eyes. This is your brightening base, so don’t be afraid to go a little heavier than usual. I used my trusty Estée Lauder Double Wear Stay-in-Place Concealer, which delivers the perfect brightening finish. The key here is choosing a formula with enough creaminess to blend and melt in with the blush layered on top.
Full coverage concealers
Step 2: Blush transition
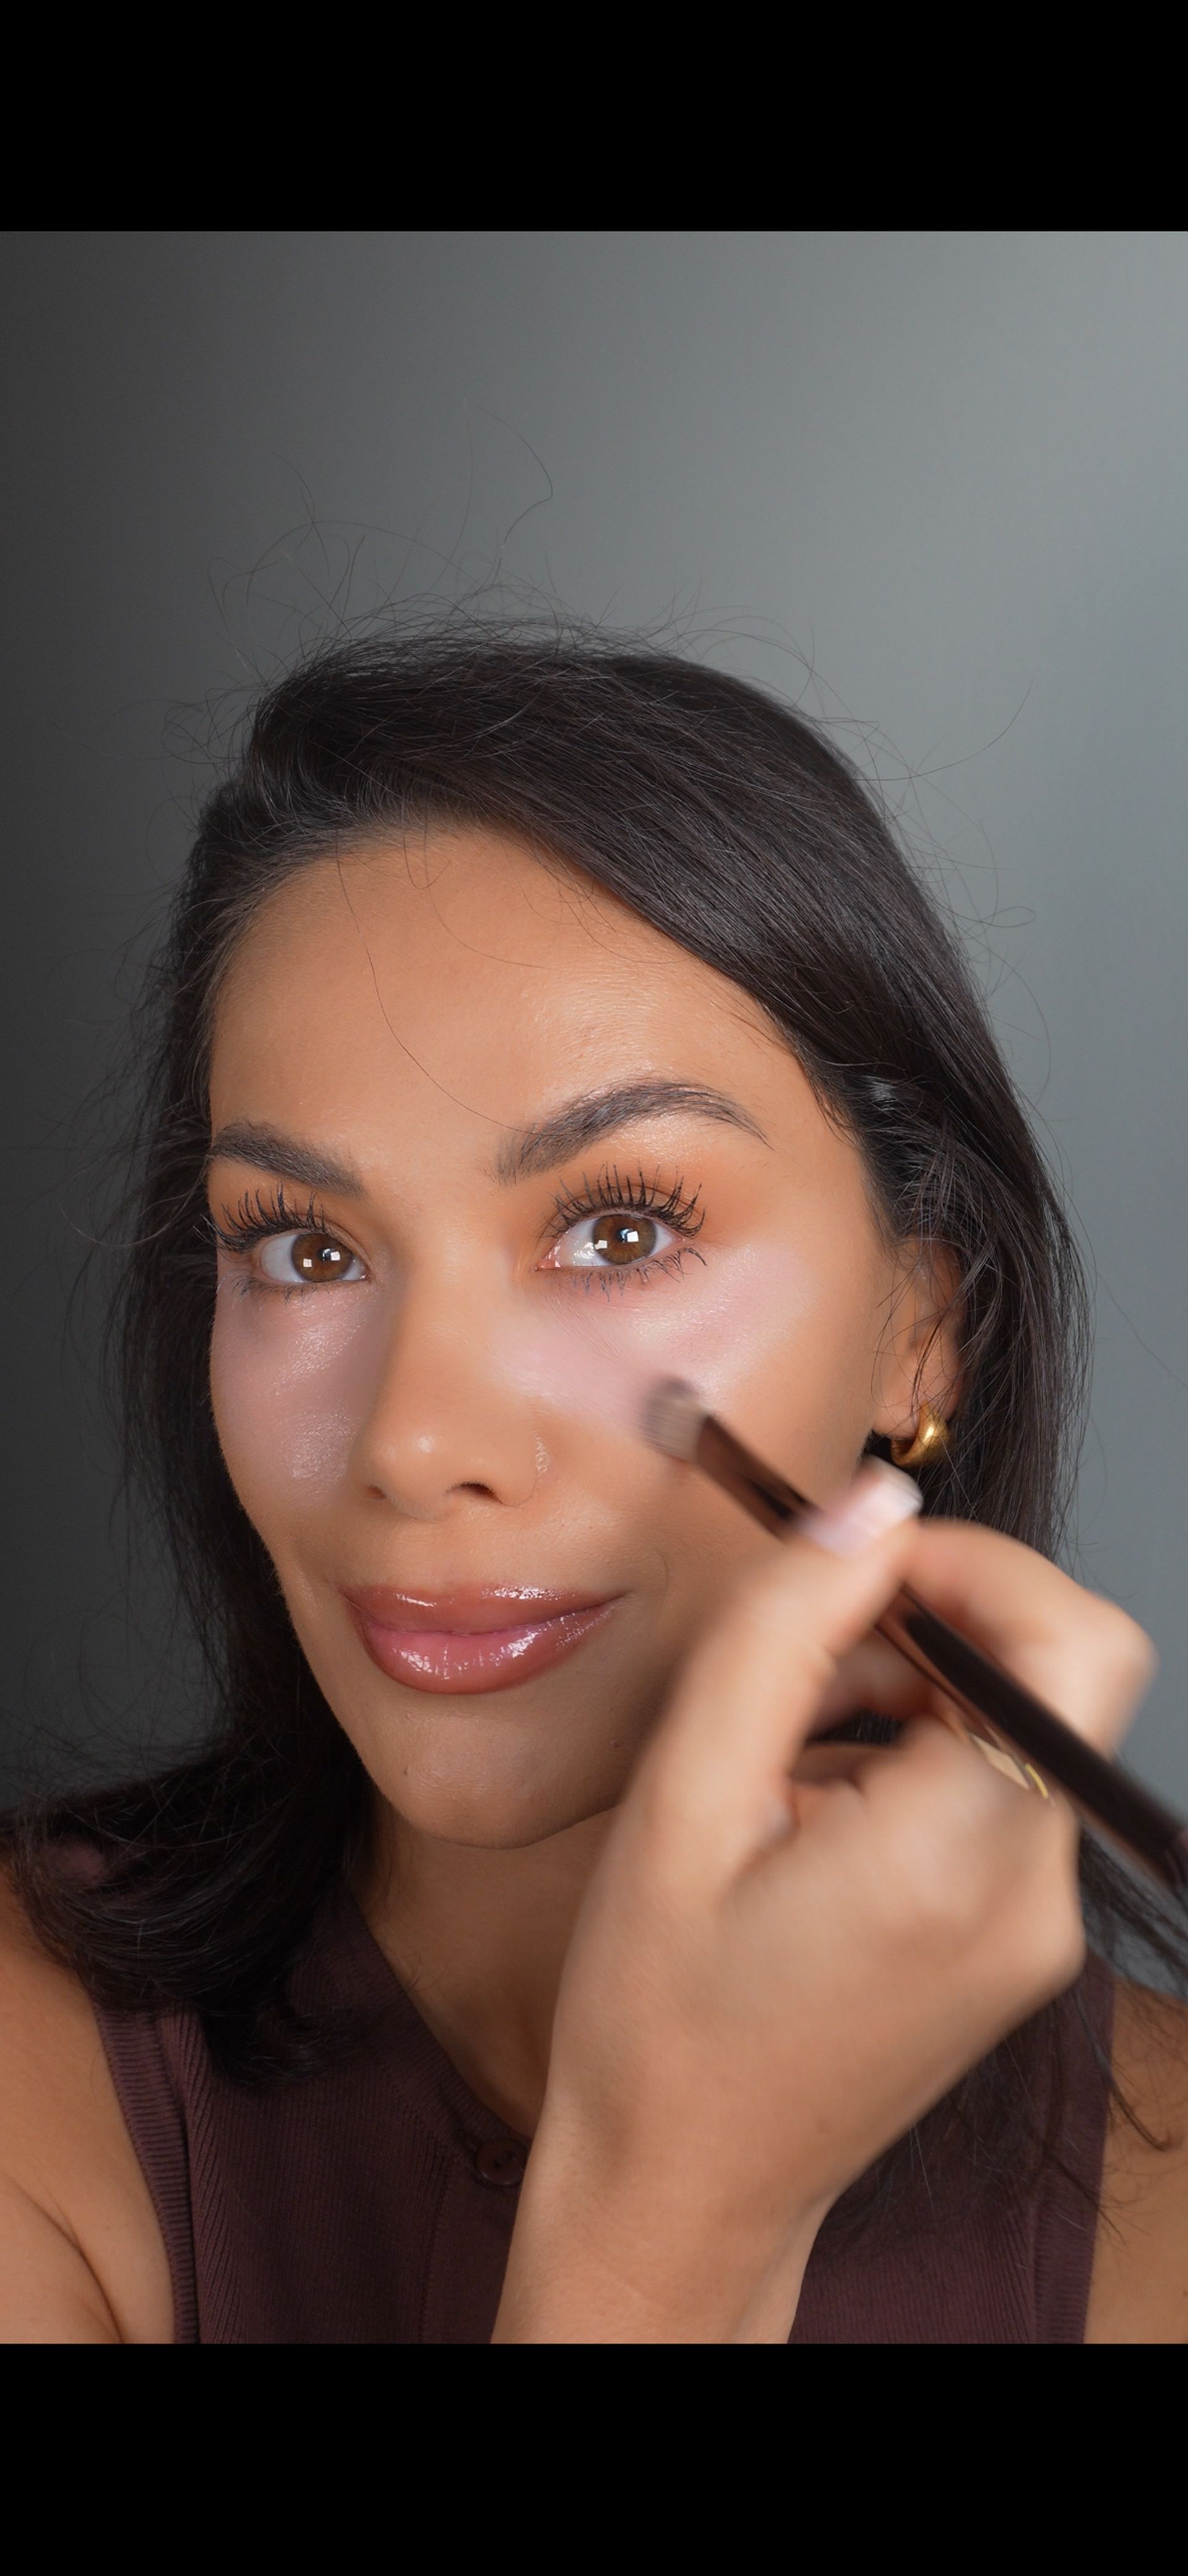
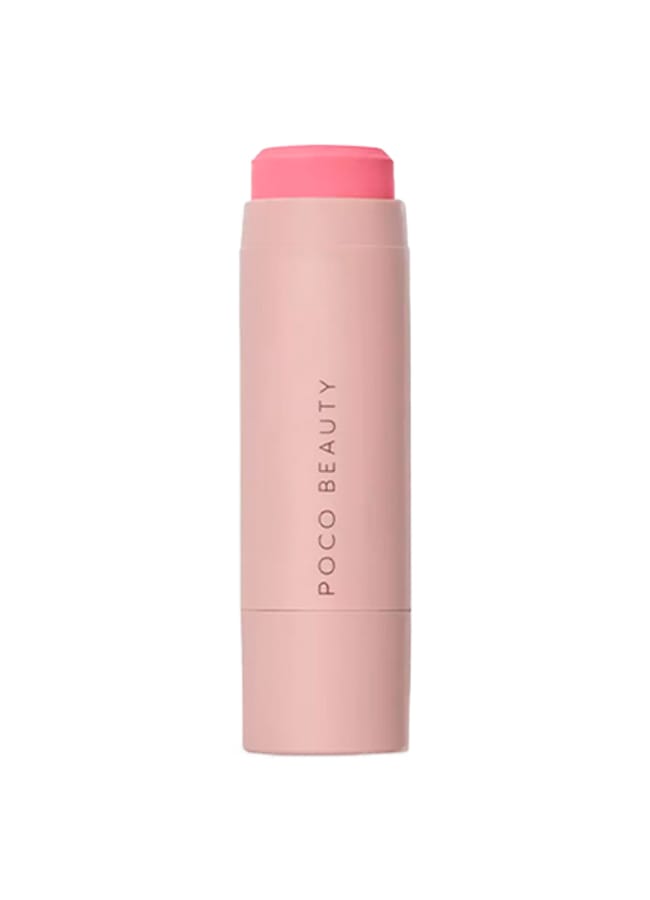
This is where the look really comes together. Rather than keeping blush strictly on the cheeks, take a baby-pink cream formula and apply it directly over your concealer, blending the two together until they practically melt into one. Not only does this create the prettiest pink-toned under-eye transition, but it also gives an extra-brightening effect. I used the Poco Beauty Cream Stick in Doll, which is the most perfect Barbie-pink shade for recreating this look.
‘Transition’ cream blushes
Step 3: Blush maxxing
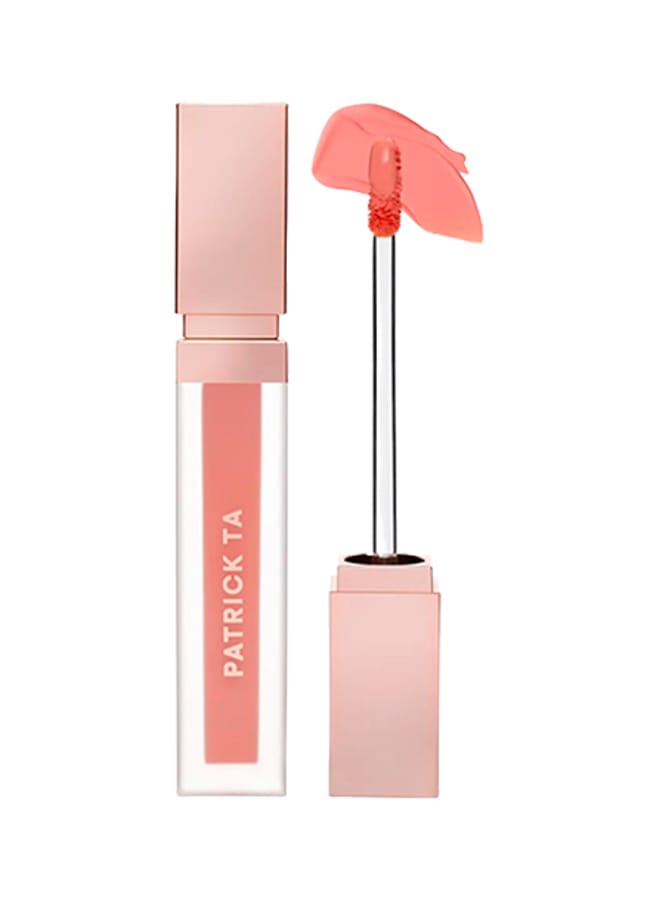
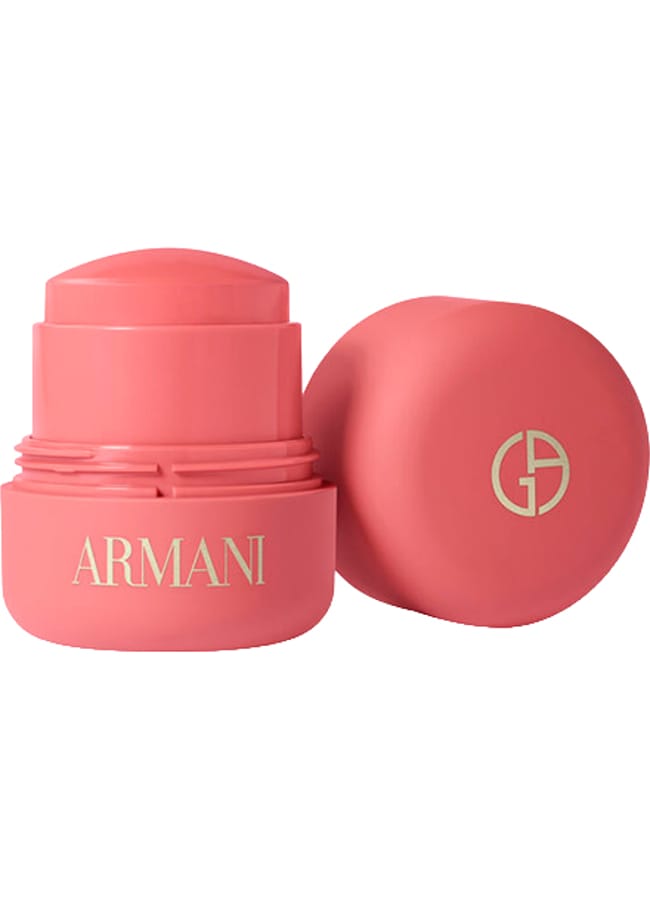
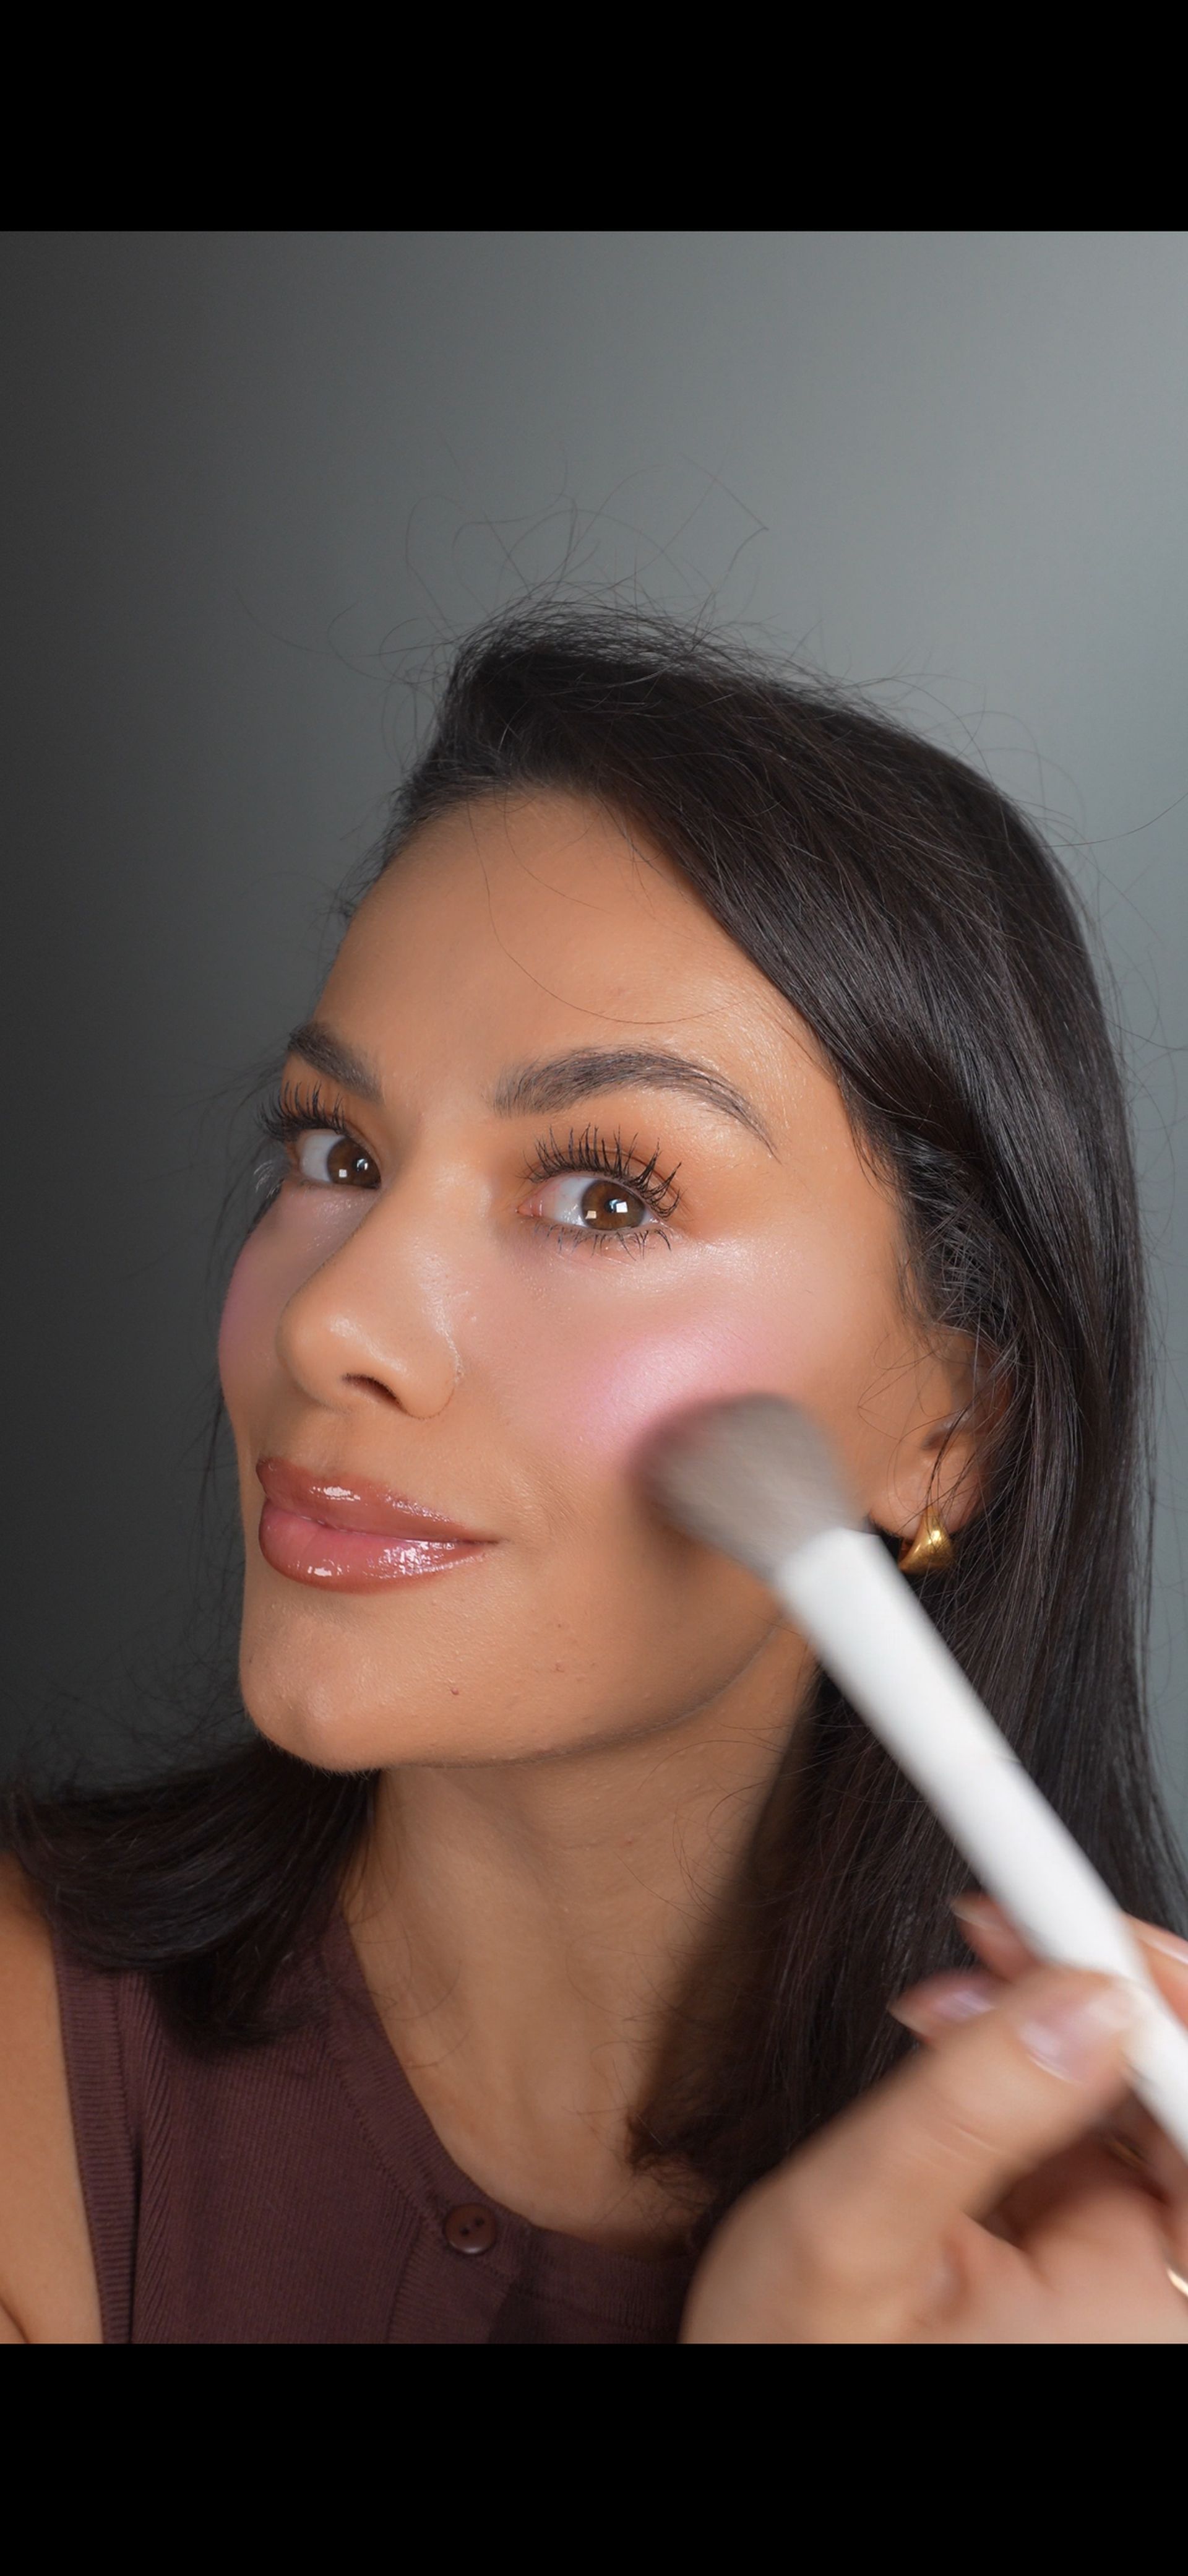
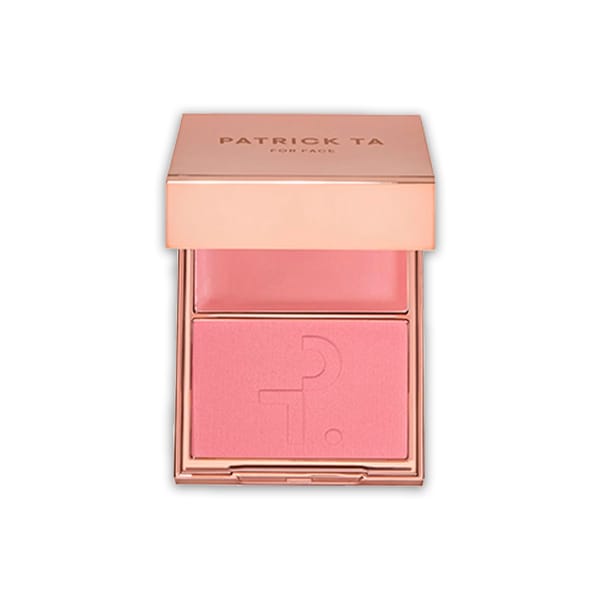
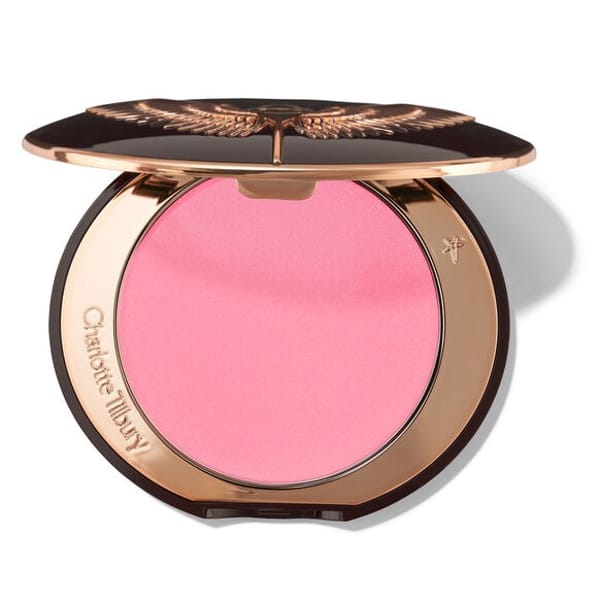
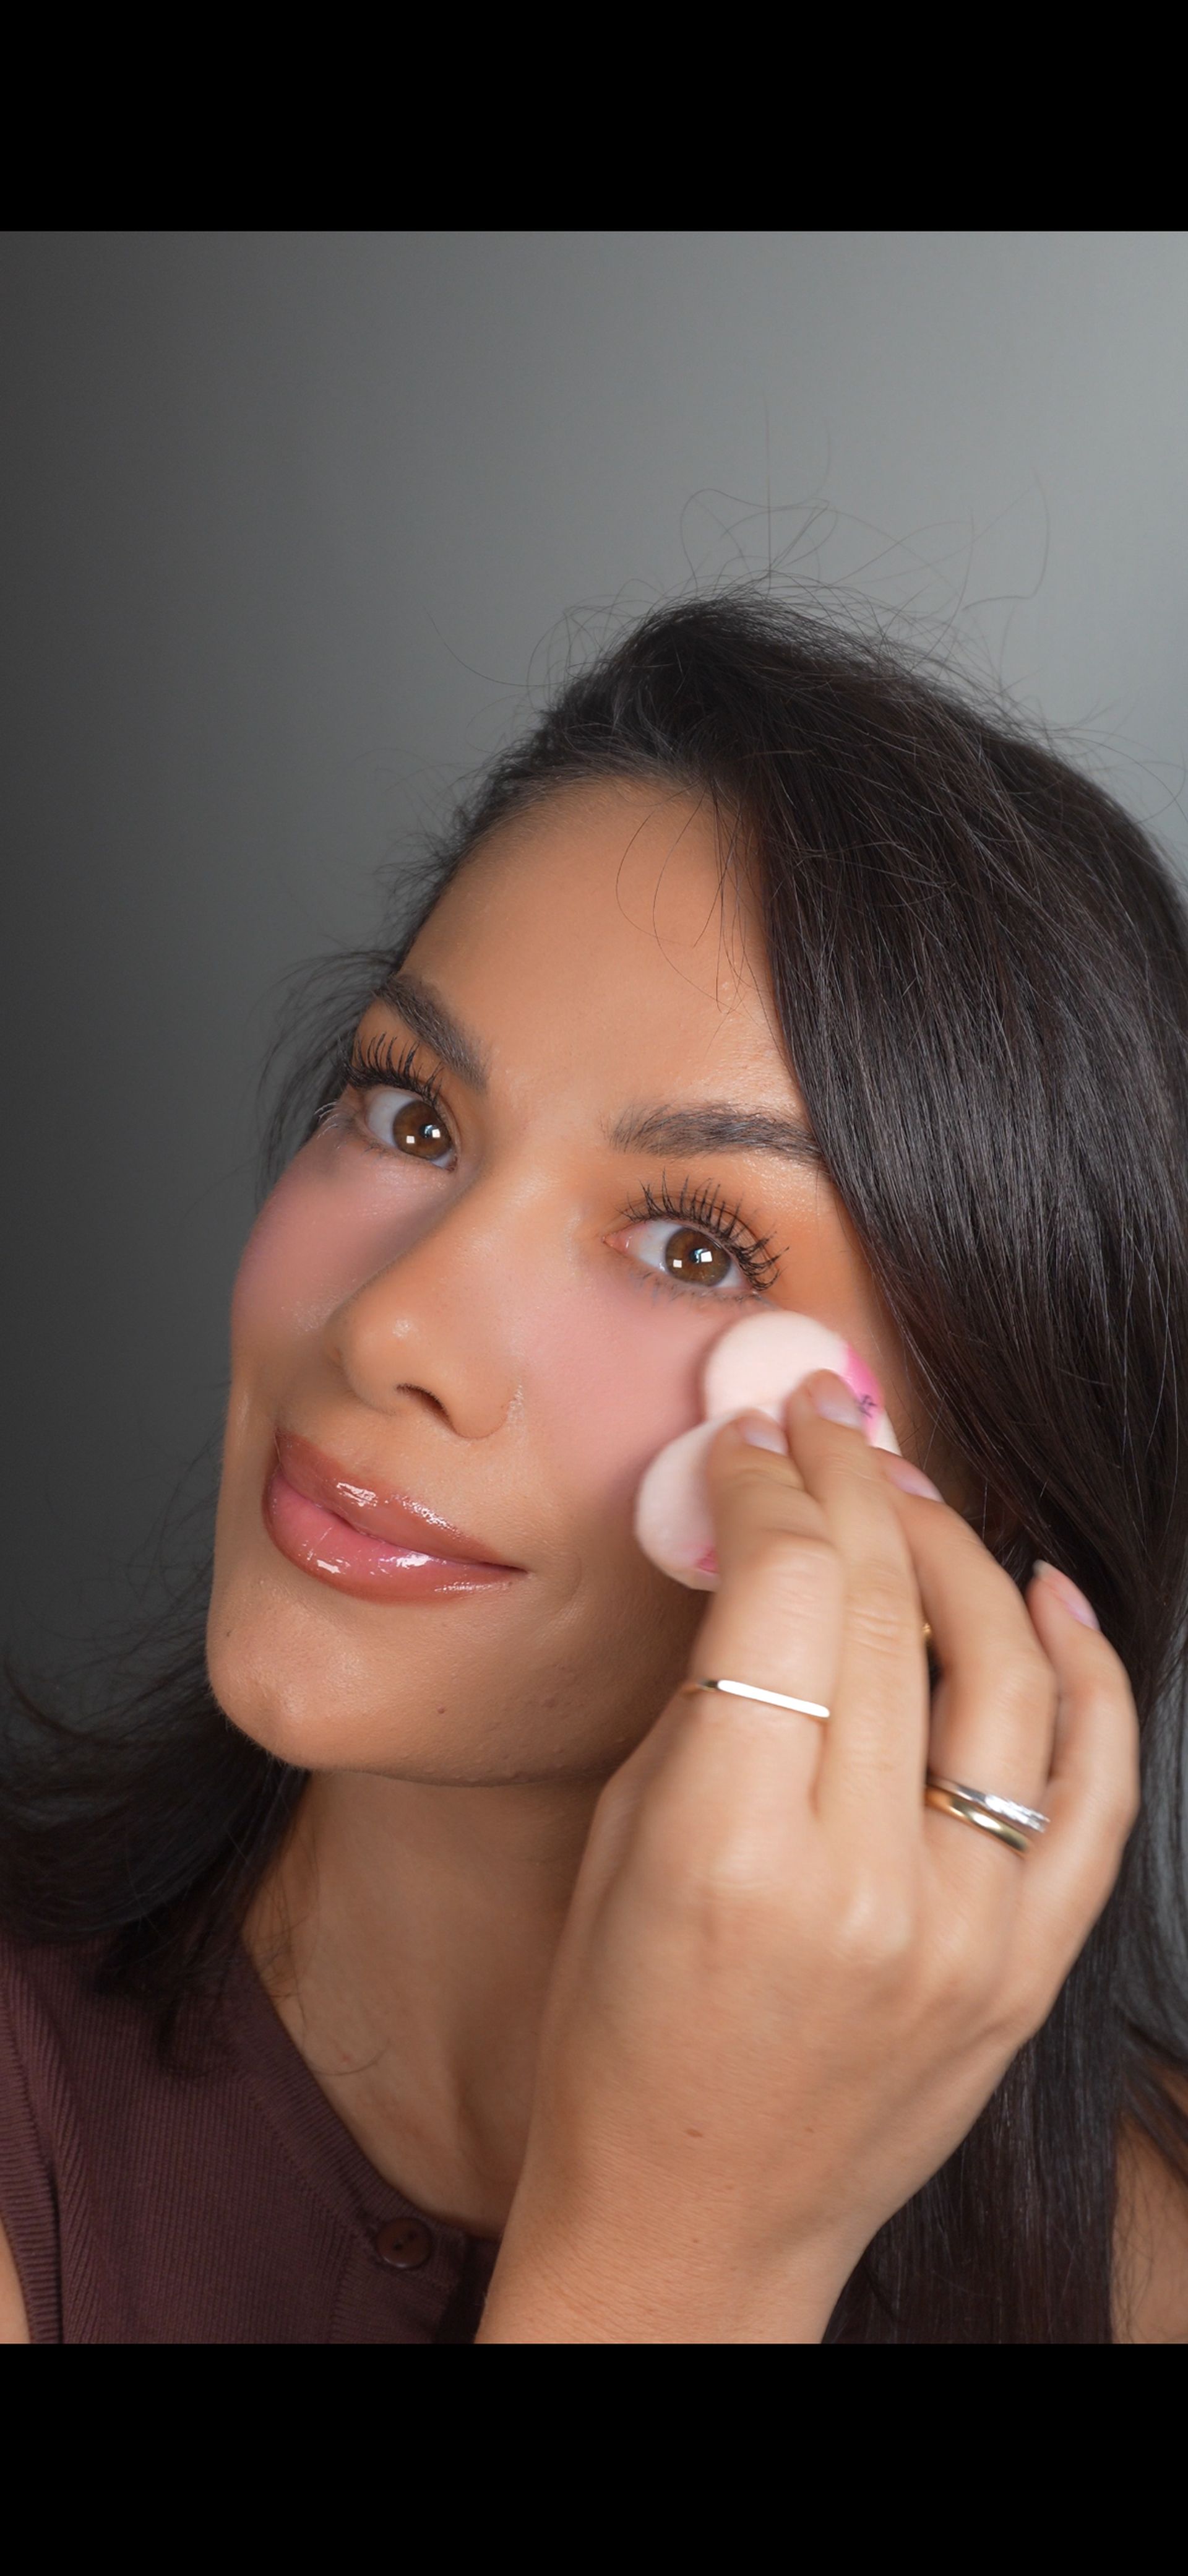
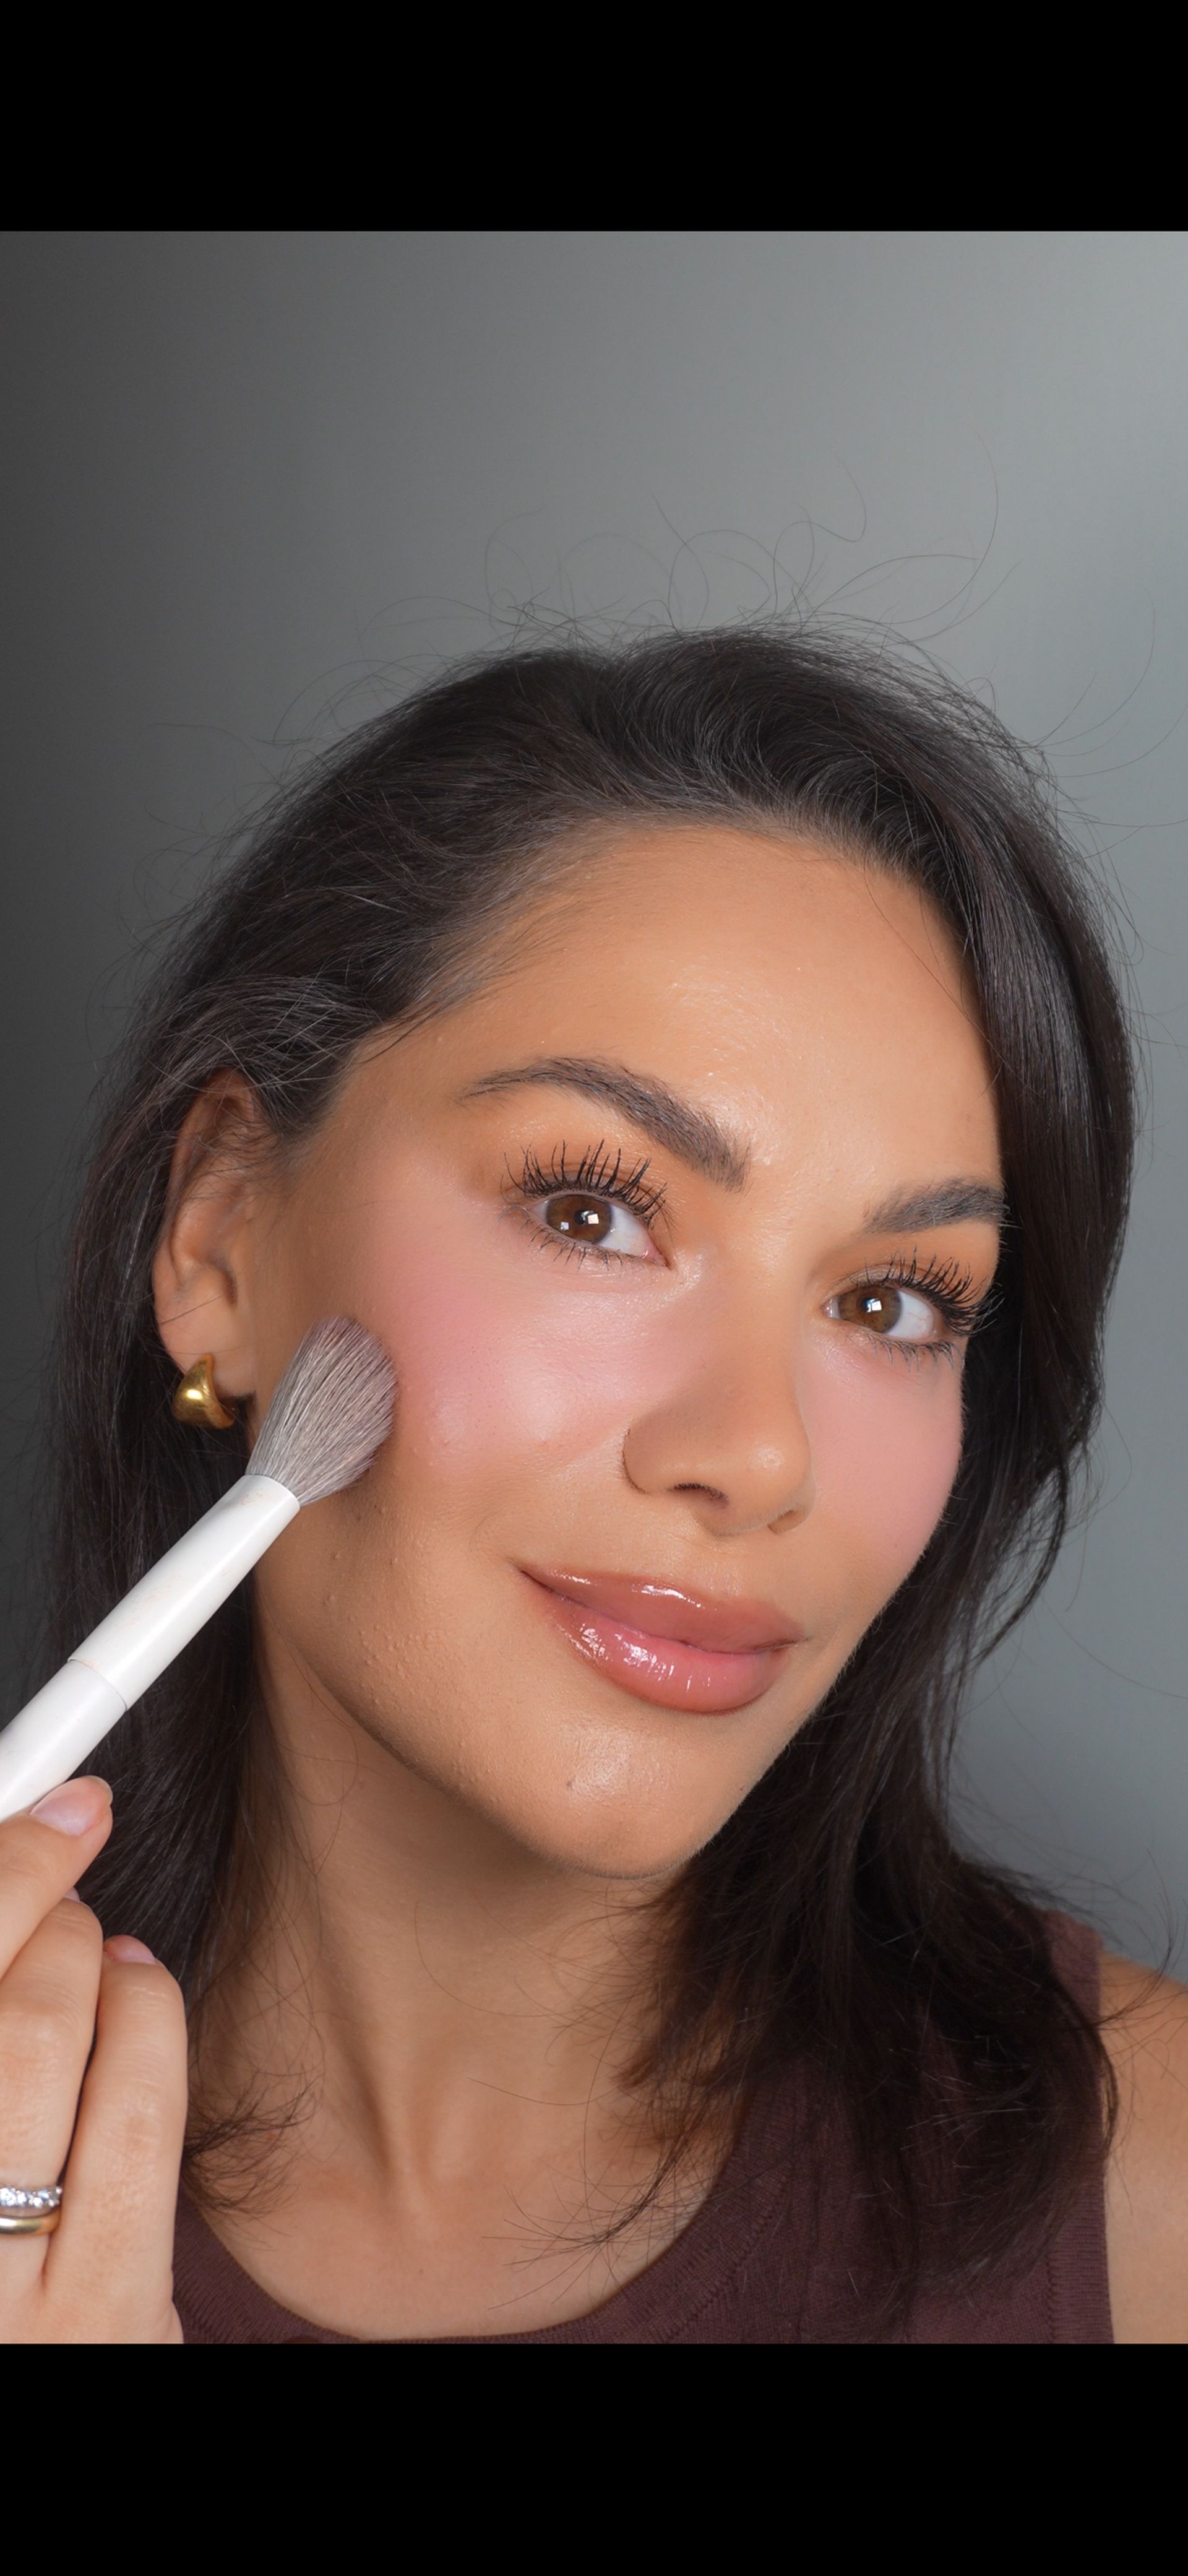
If you’ve ever felt there’s no such thing as too much blush, this step is very much for you. Take a baby-pink powder blush and sweep it across the apples of your cheeks, blending upwards and out towards the cheekbones for a lifted, doll-like finish. The idea is to build that beautiful, diffused pink flush while connecting the colour back to your under-eye. Kylie Cosmetics’ Hybrid Blush in Winter Kissed 2.0 was my pick here, thanks to its soft-focus, airbrushed finish that gives the skin that almost-filtered effect.
Babydoll powder blushes
Step 4: Set and bake
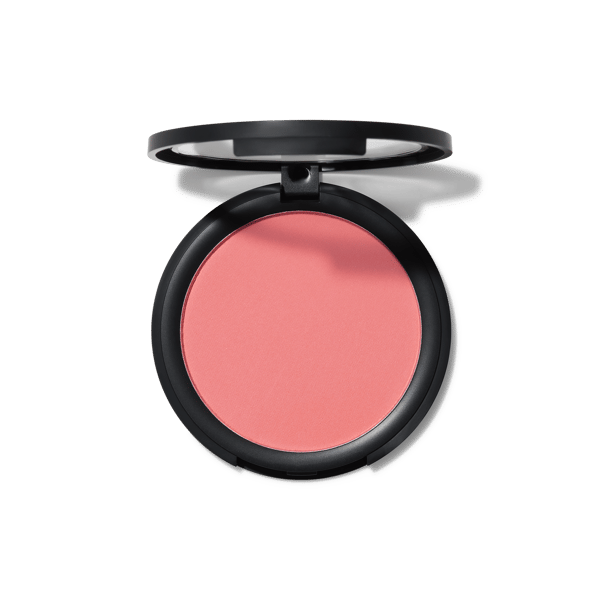
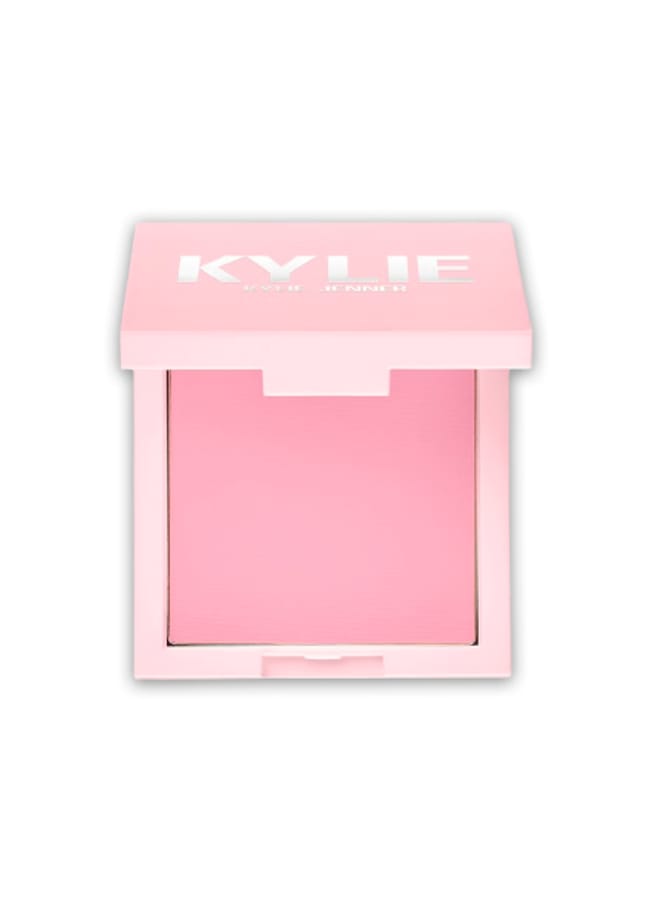
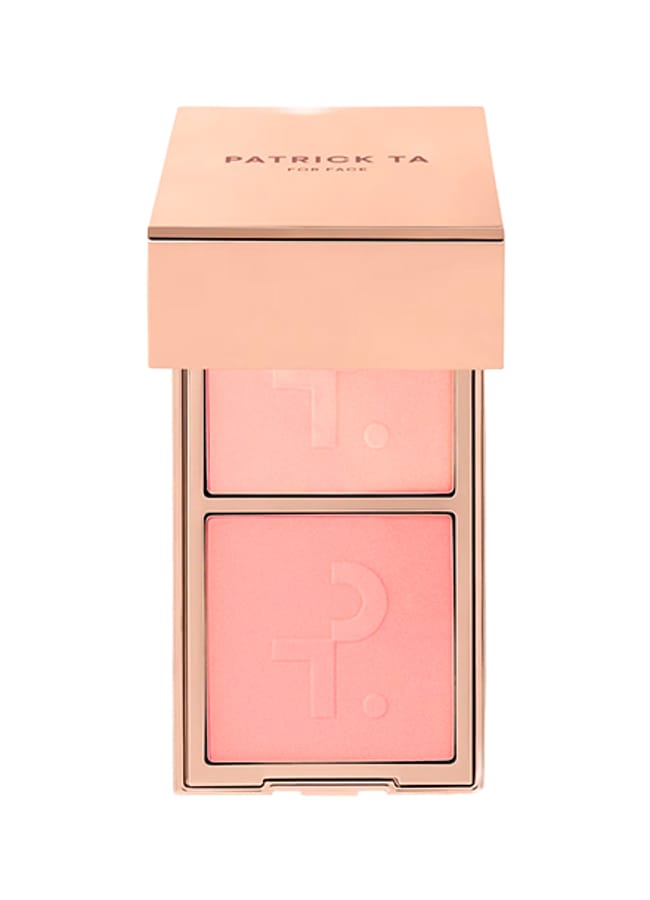
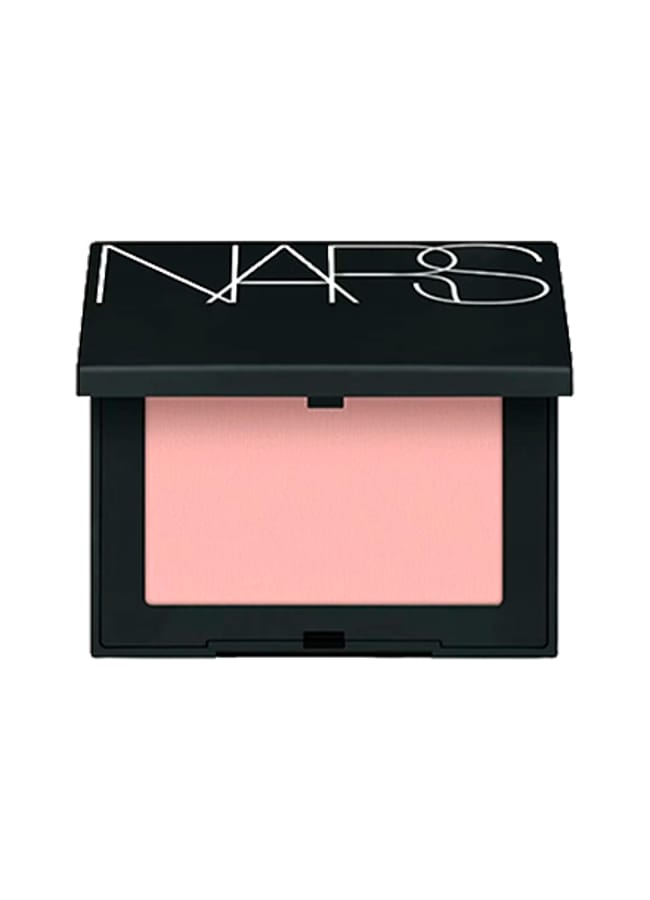
Now for the bit that really brings the whole look together. Take a super-light, brightening pink powder blush and gently press it underneath the eyes using a puff to bake. Blend the powder down into the blush beneath, softening any harsh lines and creating that signature seamless transition look. I used Kylie Cosmetics’ Pressed Blush Powder in Pink Power, which is the perfect tone to brighten and complete this look.
Brightening powder blushes
Step 5: Trap the blush
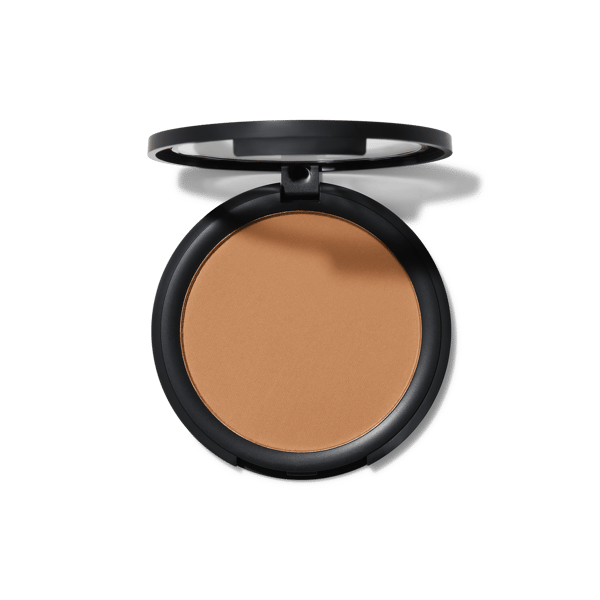
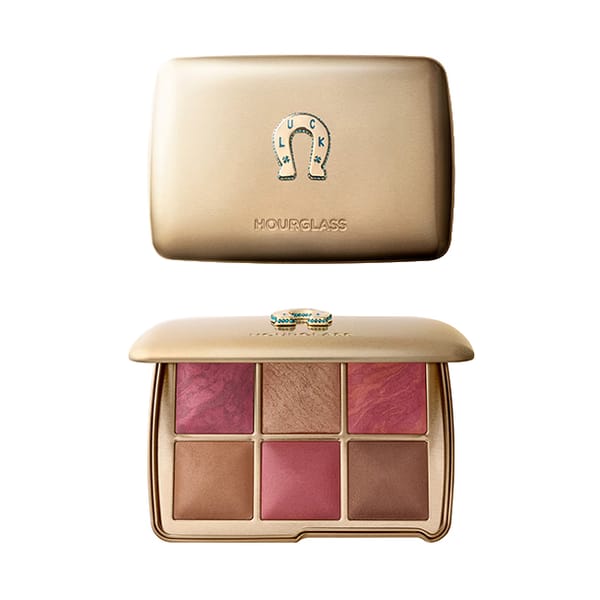
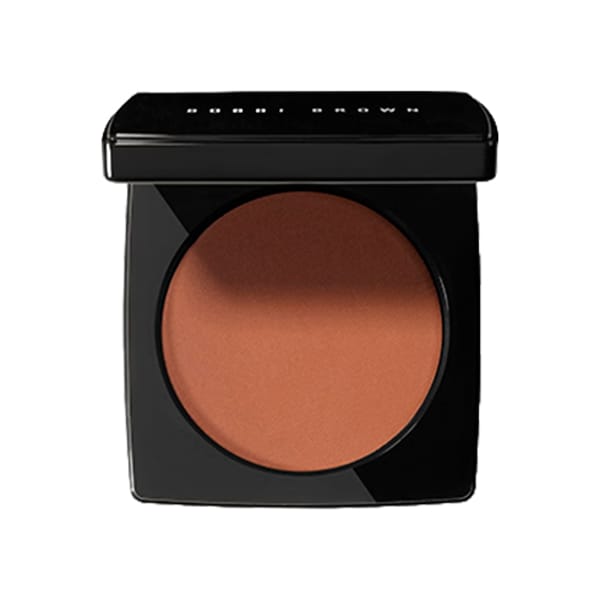
For the final step, use bronzer to ‘trap’ the blush, softly framing the colour and bringing everything back into balance. Sweep a little bronzer around the outer edges of your blush, blending towards the cheekbones to add warmth and subtle sculpting without losing that pretty pink flush. I chose Et Al Beauty’s Versatile Bronze Shade & Sculpt for this final step.
Sculpting bronzers
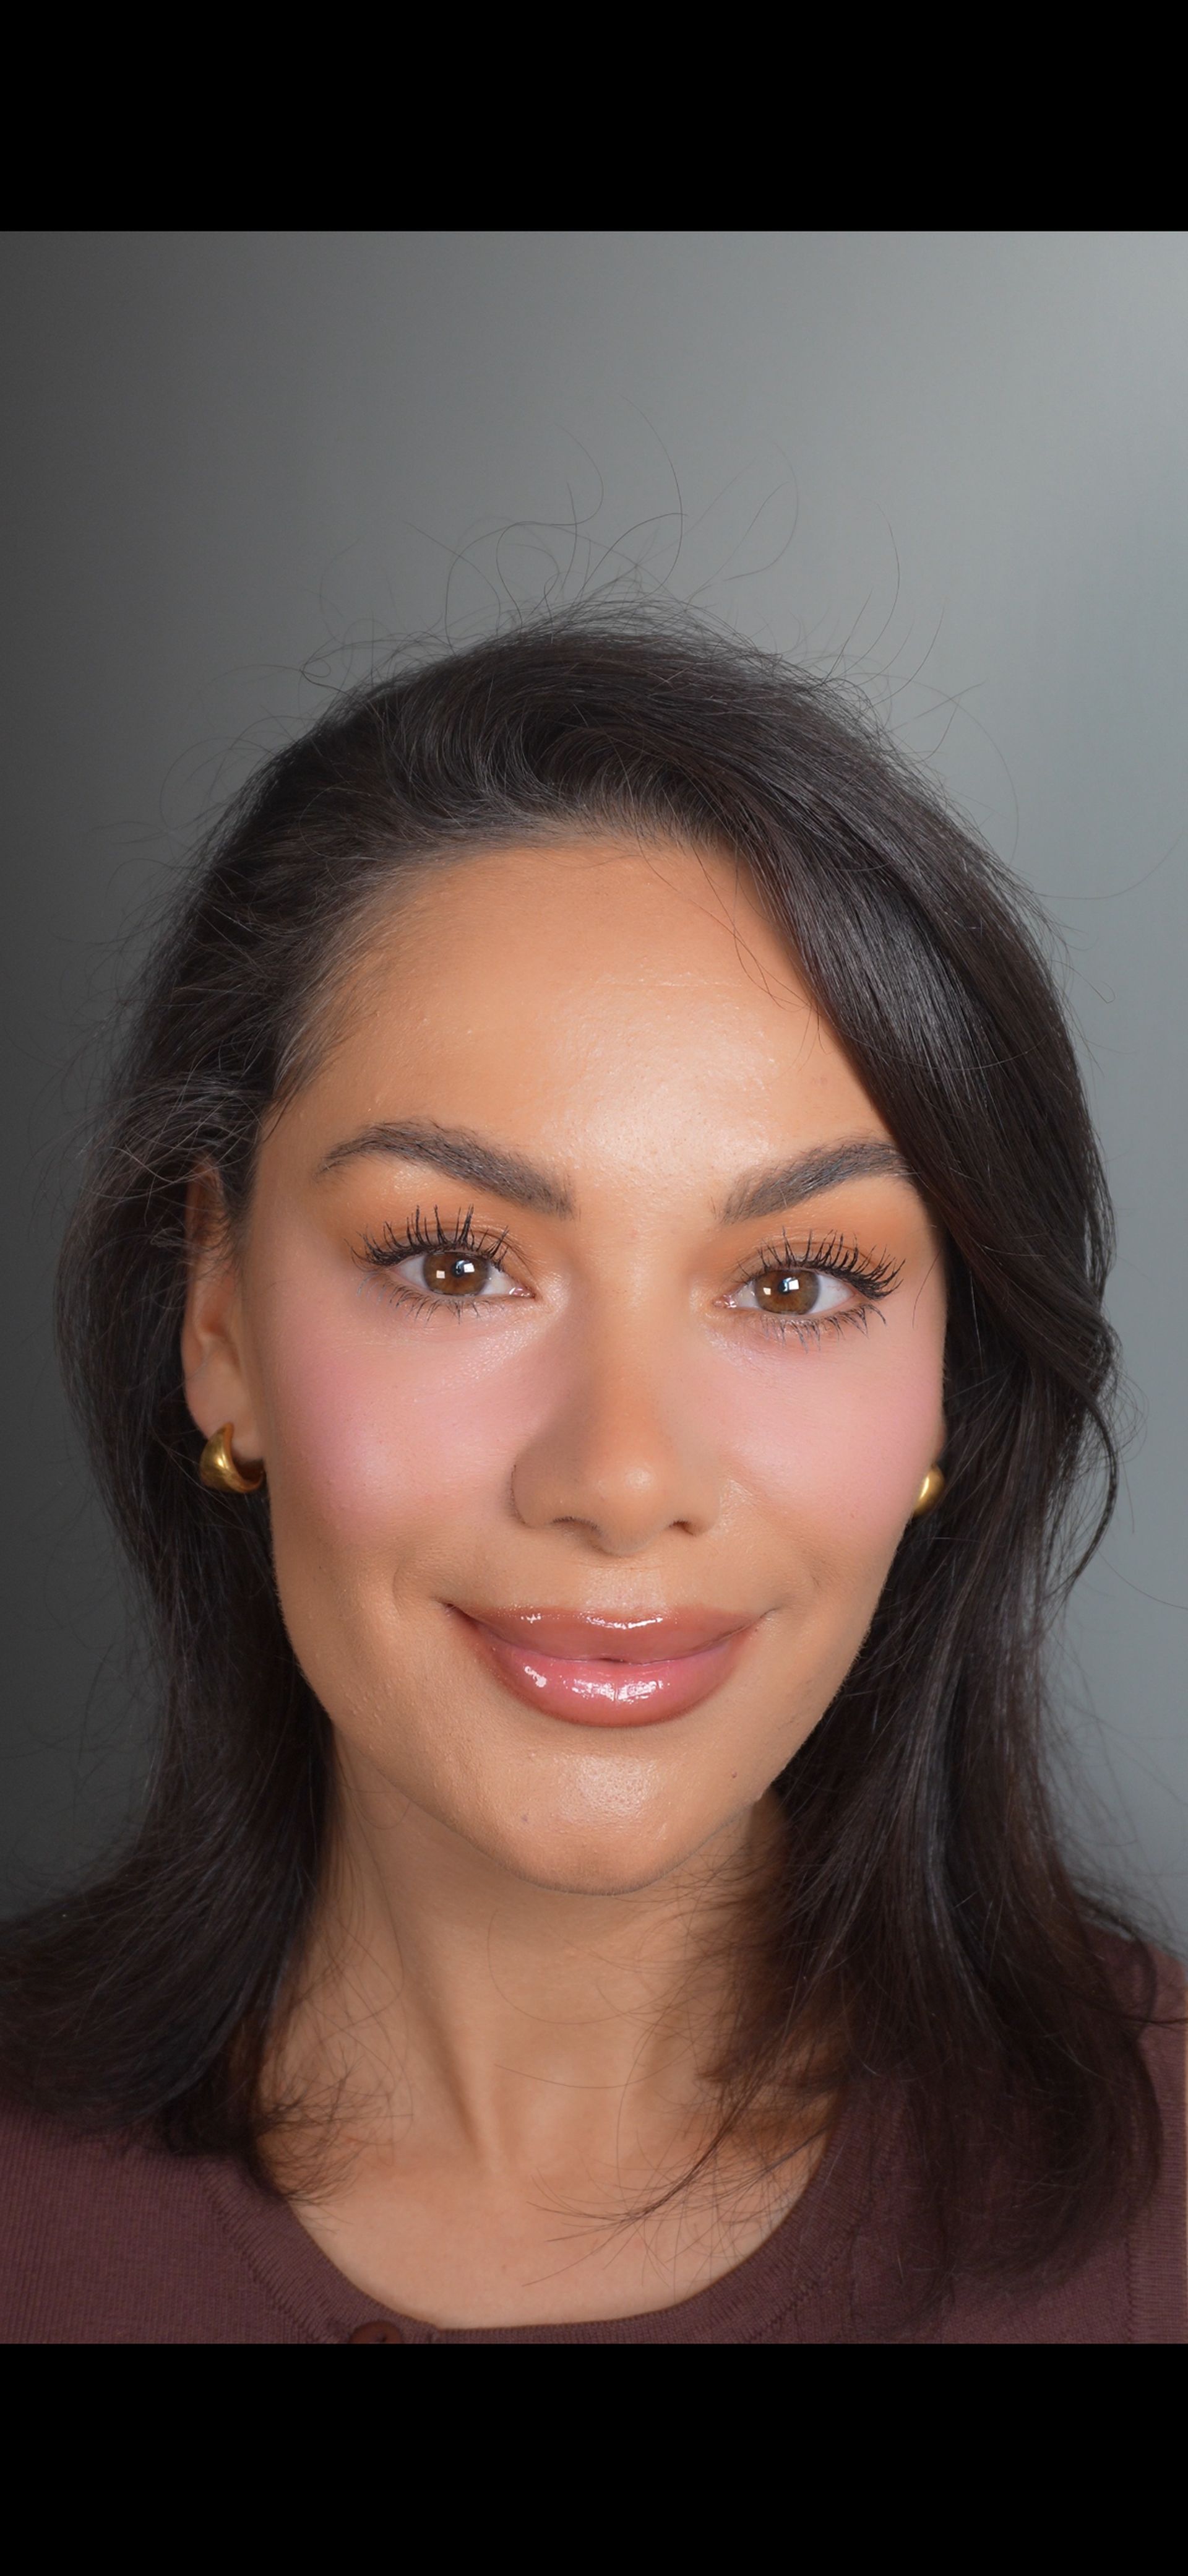
The finished look
As someone who’s always gravitated towards coral blush, applied firmly to the apples of my cheeks and nowhere else, I wasn’t entirely convinced I’d be won over by this one. But honestly, I absolutely adore it. There’s something about that exaggerated pop of baby pink, blended all the way from the under-eyes to the cheekbones, that makes my skin look instantly brighter and more lifted. I think I might just be a transition-blush girl now. And if you’re someone who believes more blush is always better, this one’s definitely worth trying.
The products on this page have been selected by our editorial team, however, The Handbook may make a small commission on some products purchased through affiliate links.