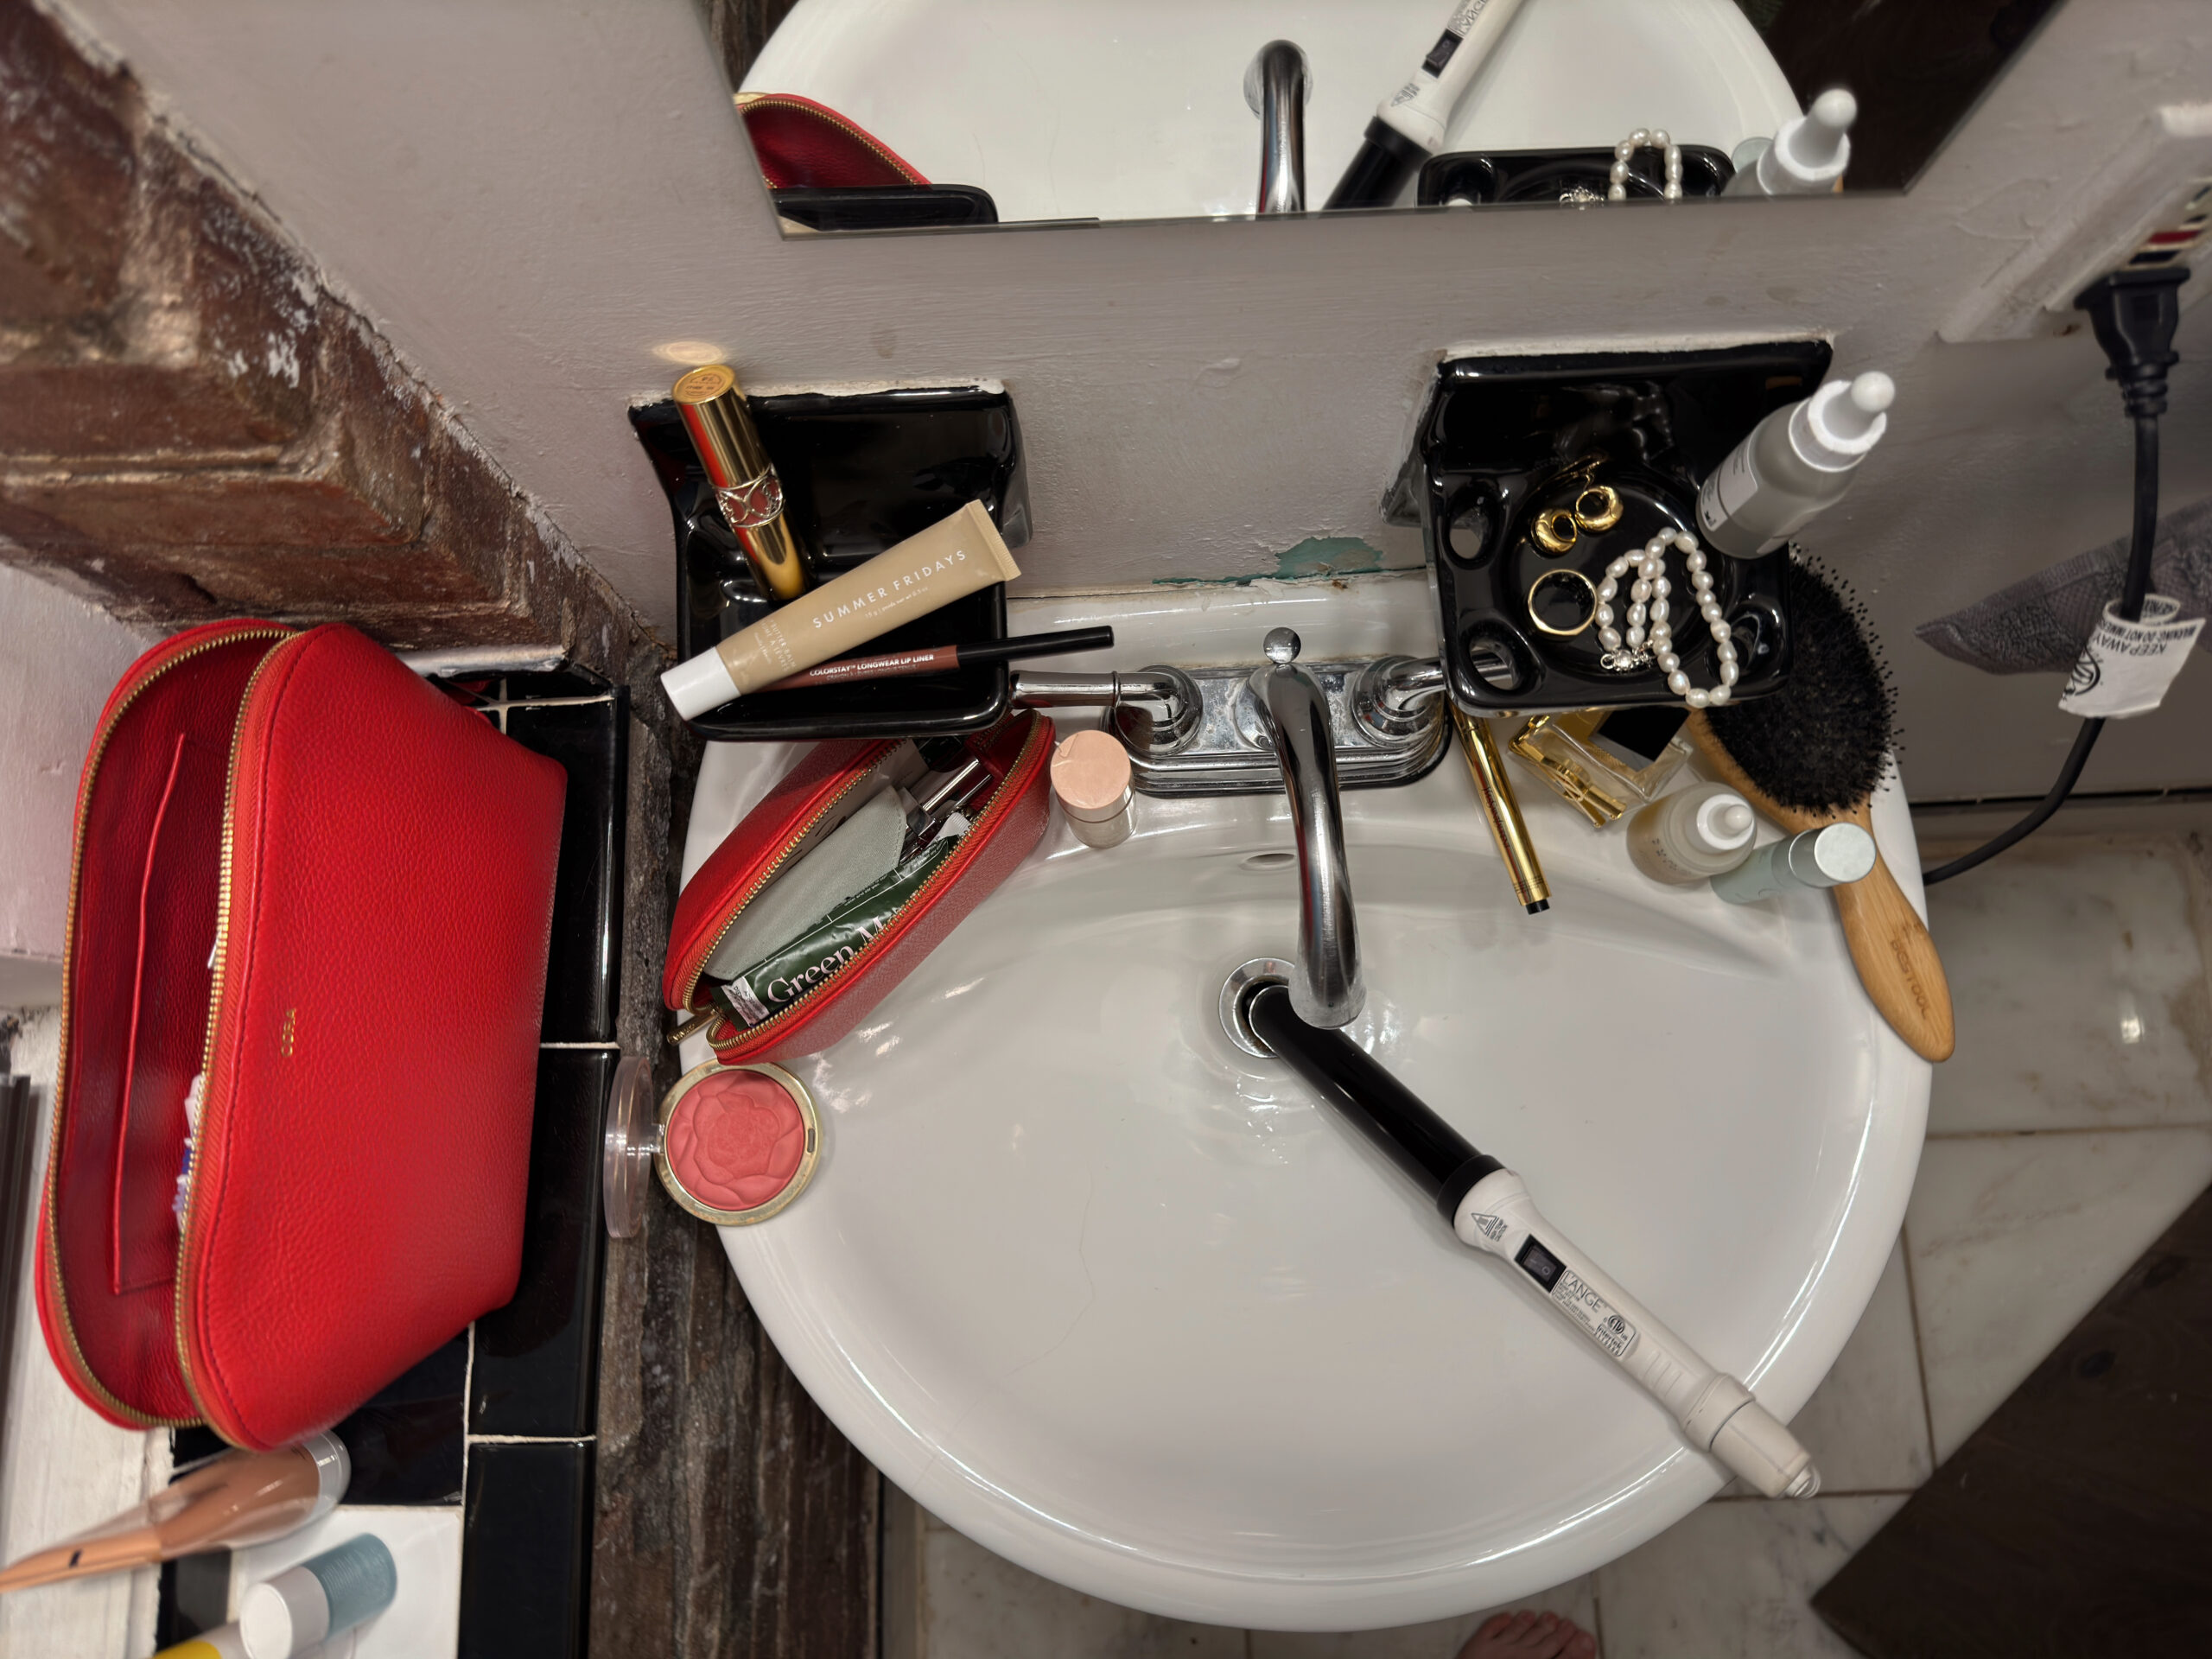
Blush Like Blossom, The Most Underrated Hero In Your Makeup Bag
There it sits at the bottom of your makeup bag, rarely getting an airing. We are, of course, referring to blusher. Blusher does the heavy lifting for your face; it’s subtle but transformative, yet somehow, it’s still underrated. Swipe it wrong, and you risk clown territory; swipe it right, and suddenly your face looks like you’ve been walking for hours in the fresh air.
It’s the secret beauty weapon of every makeup artist and serious beauty devotee, the unsung hero of an effortless, healthy glow. Spring seems the perfect time to make friends with your blush…
Jamie Coombes, Dior Beauty International Makeup Artist, sums it up perfectly:
Blush is for everyone, so do not shy from it but instead master it. It has the power to make every complexion and look radiant.
Jamie Coombes
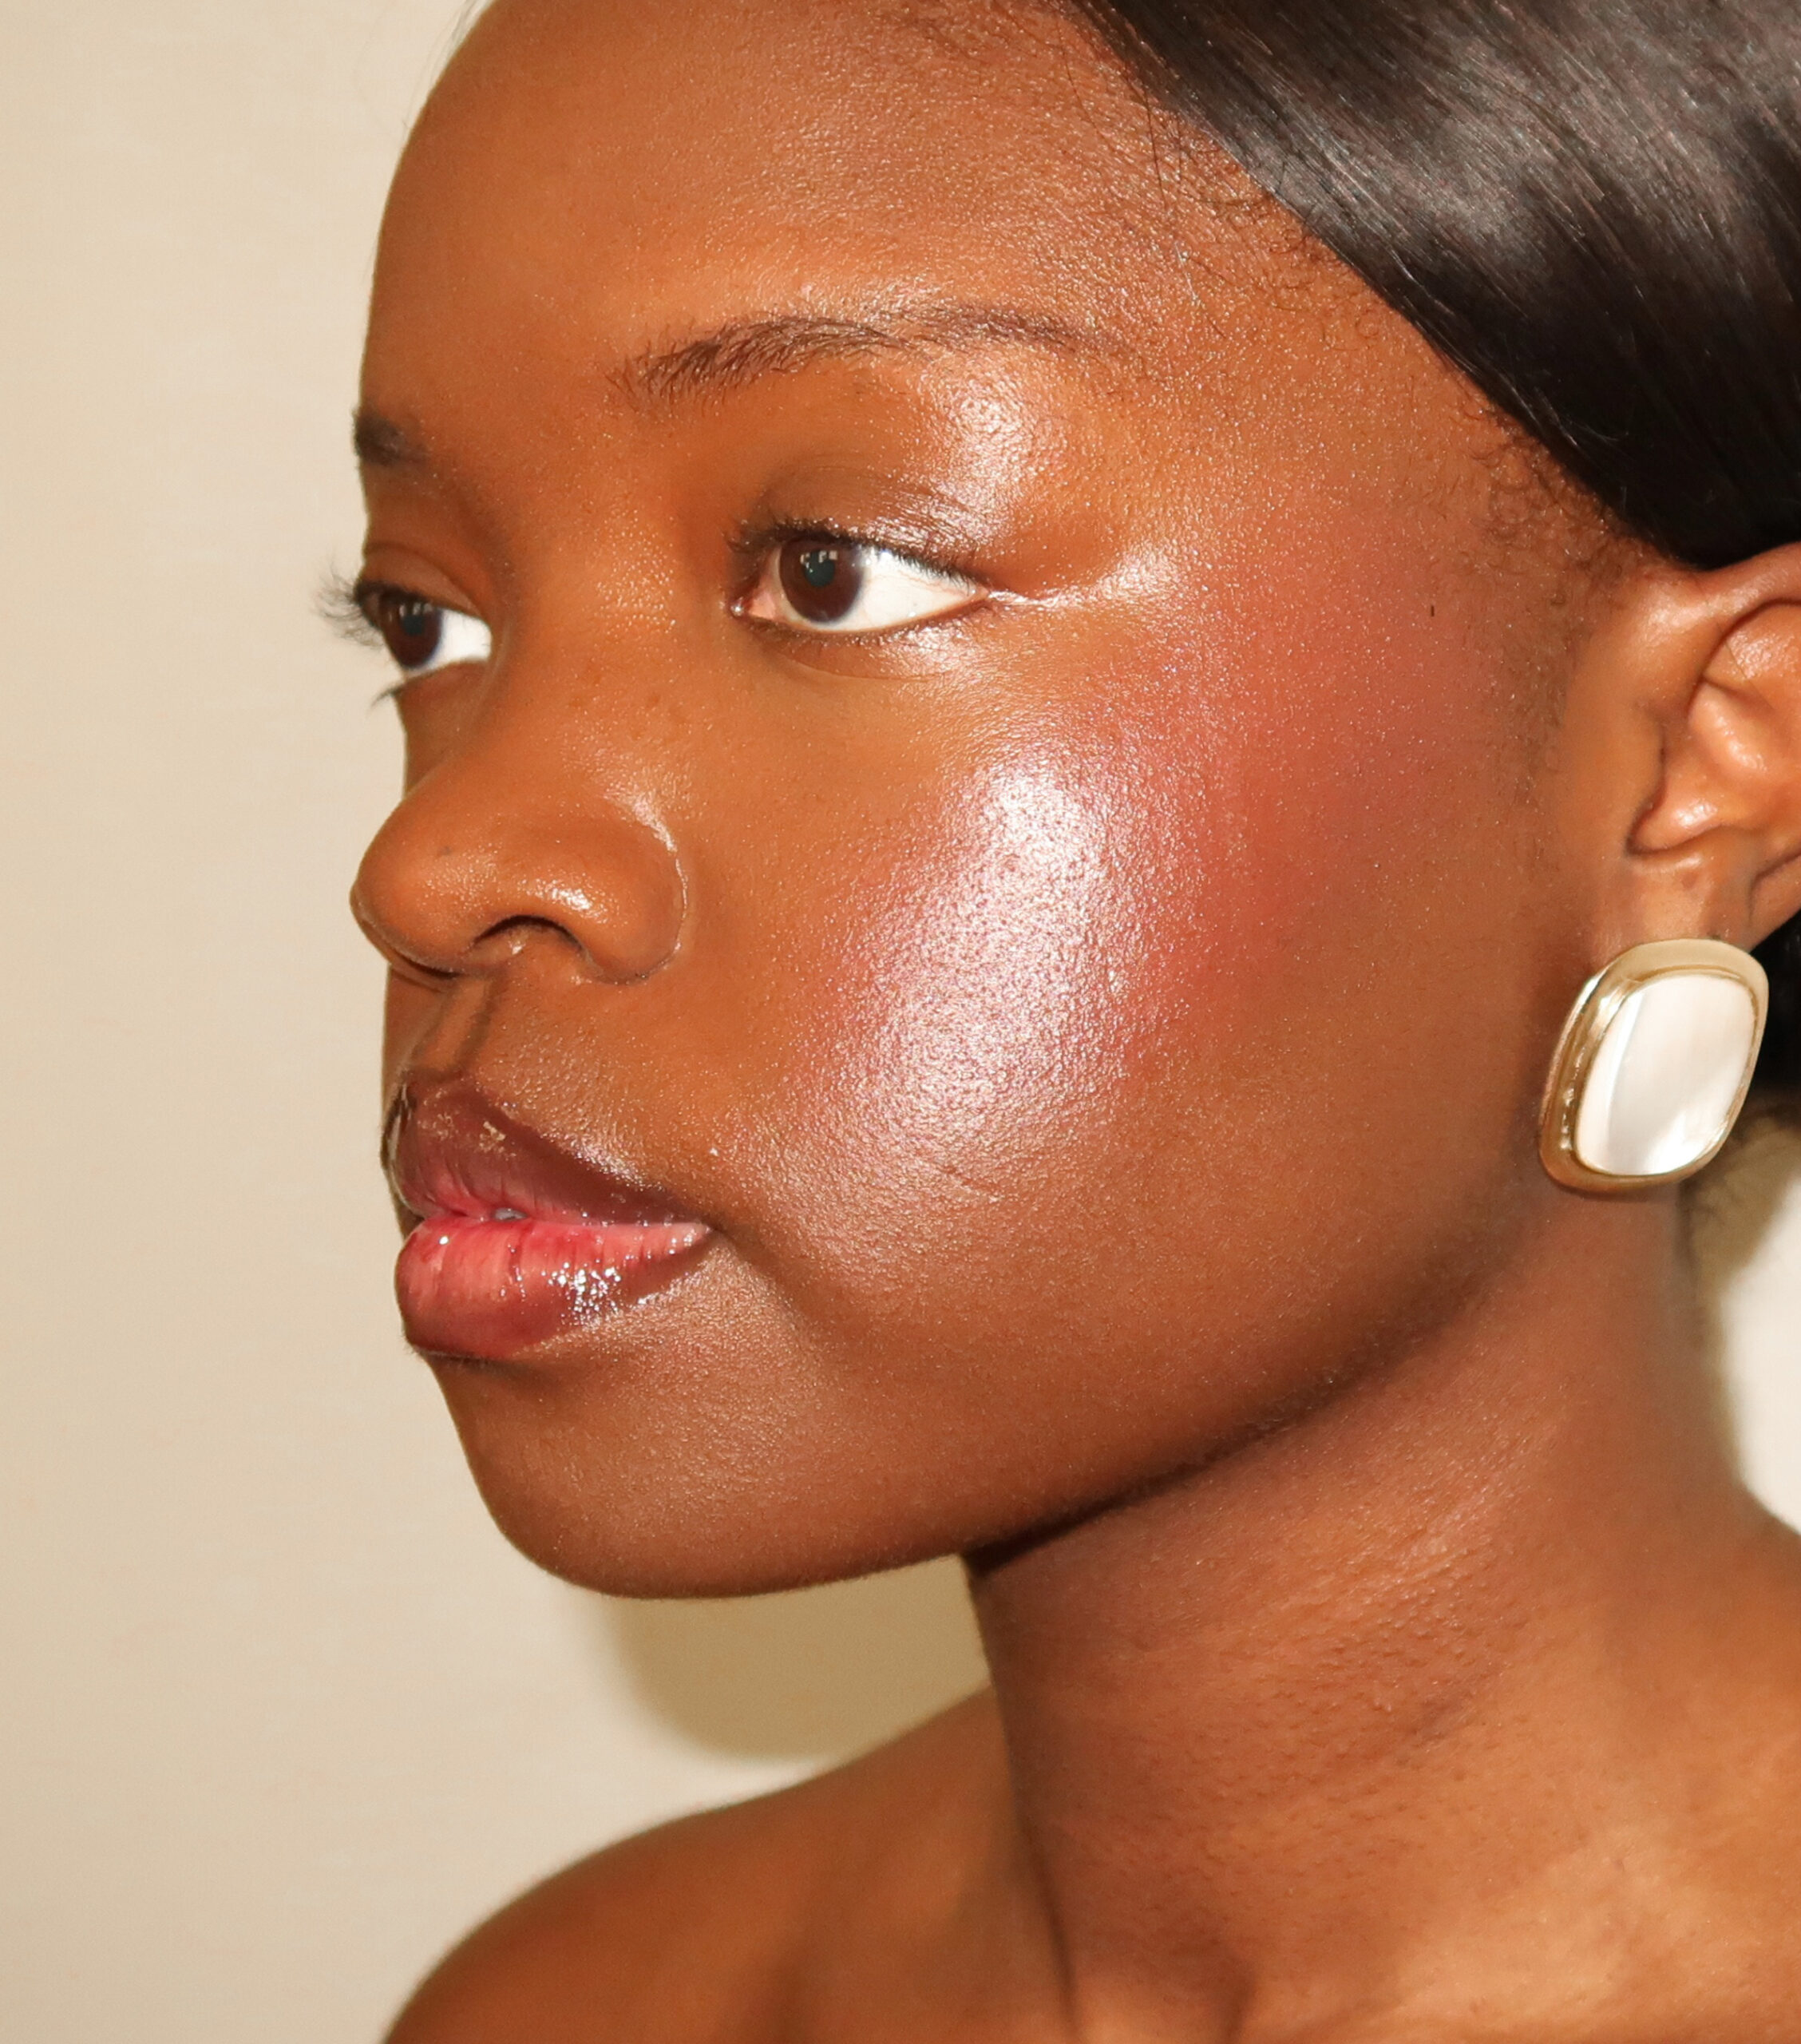
Amen to that. Whether your cheeks are naturally flushed, prone to rosacea, or just in need of a subtle lift, the right blush applied with intention can define, brighten, and even sculpt the face.
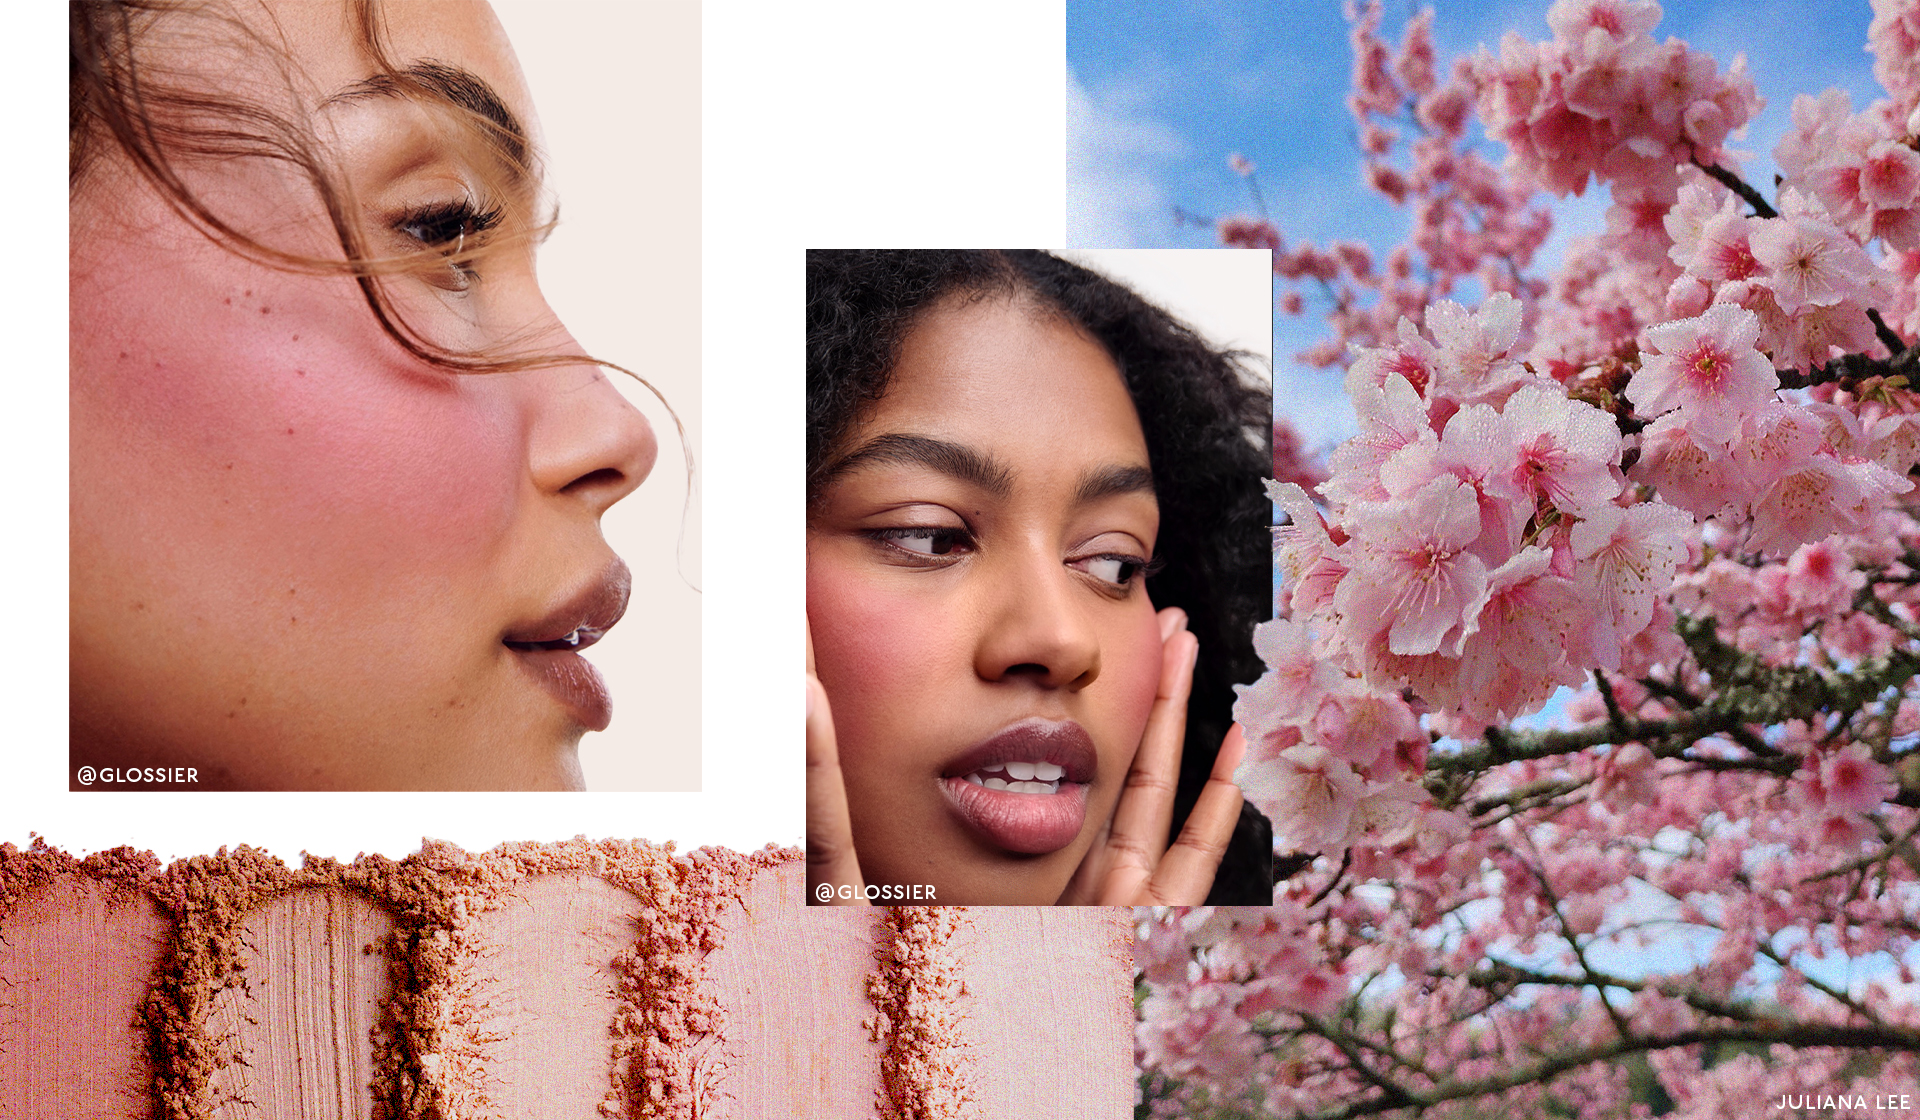
“For a soft and natural effect,” Jamie advises, “apply colour to the apples of the cheeks blending upwards towards the temples, creating a seamless transition that mimics a natural flush.”
Effortless, flattering, and completely Instagram-ready without even trying.
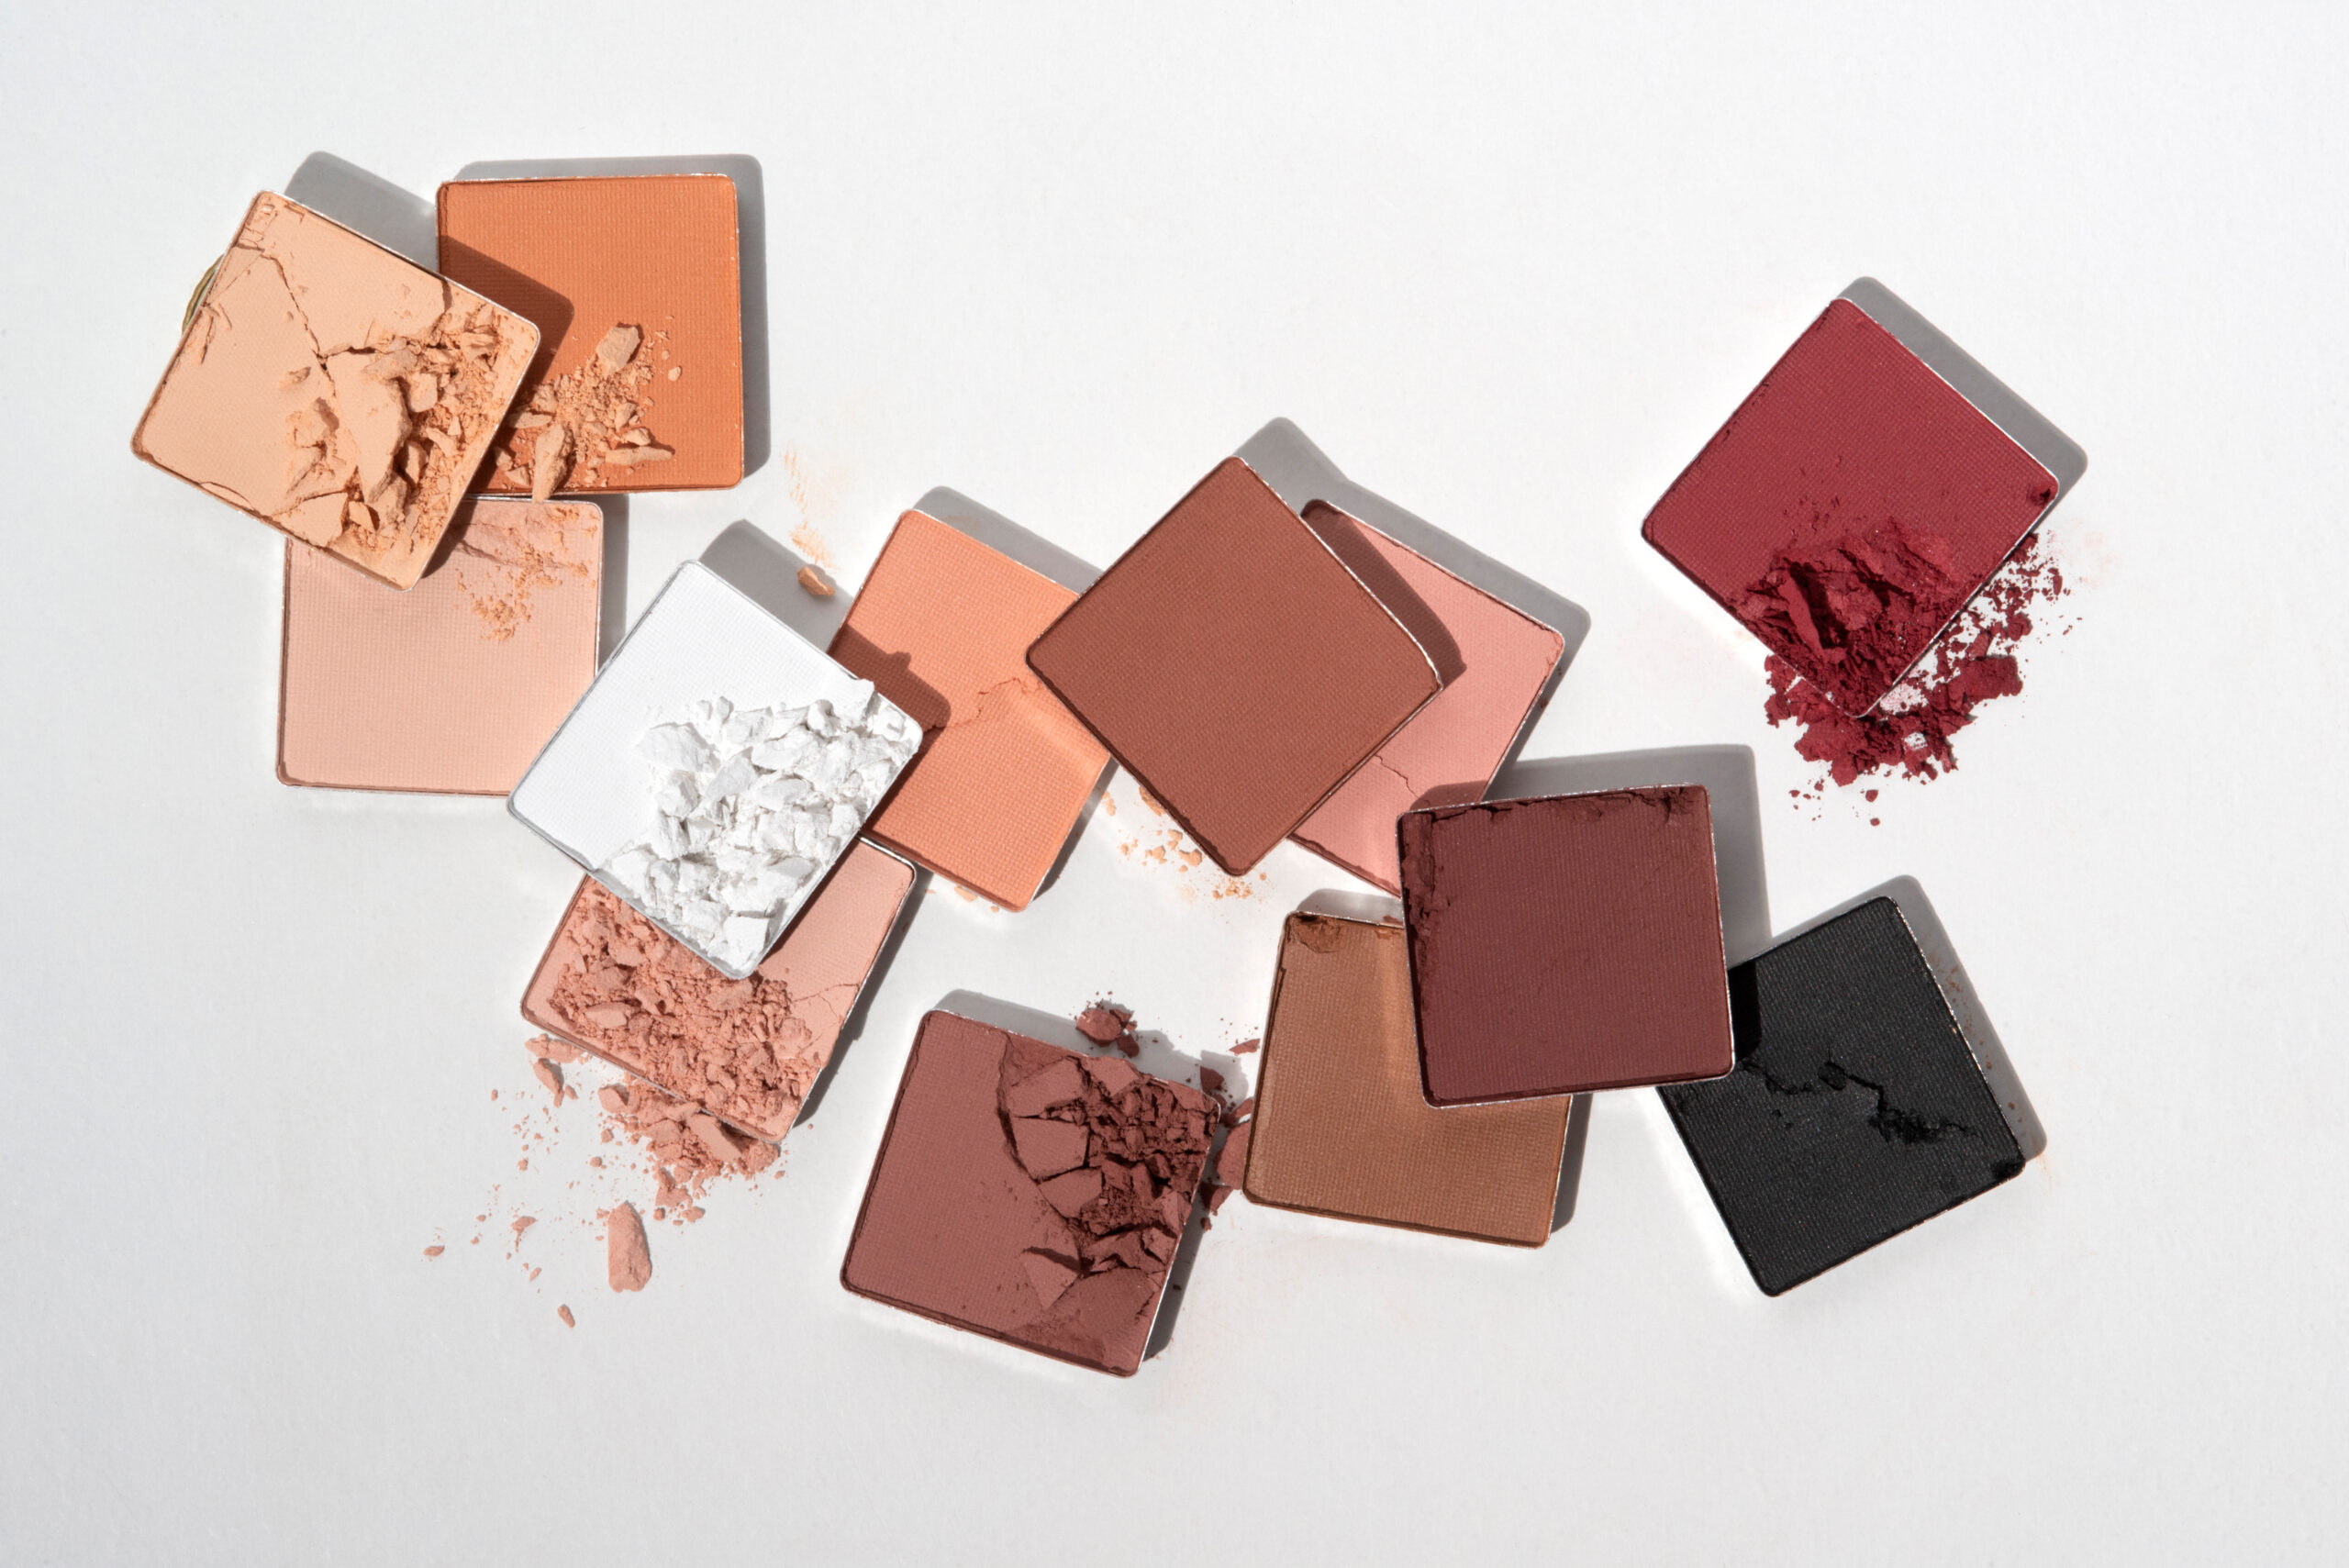
Blush isn’t just about colour, it’s about wearability. Creams for dewy, blendable ease; powders for structure and longevity; sticks for travel-friendly application.
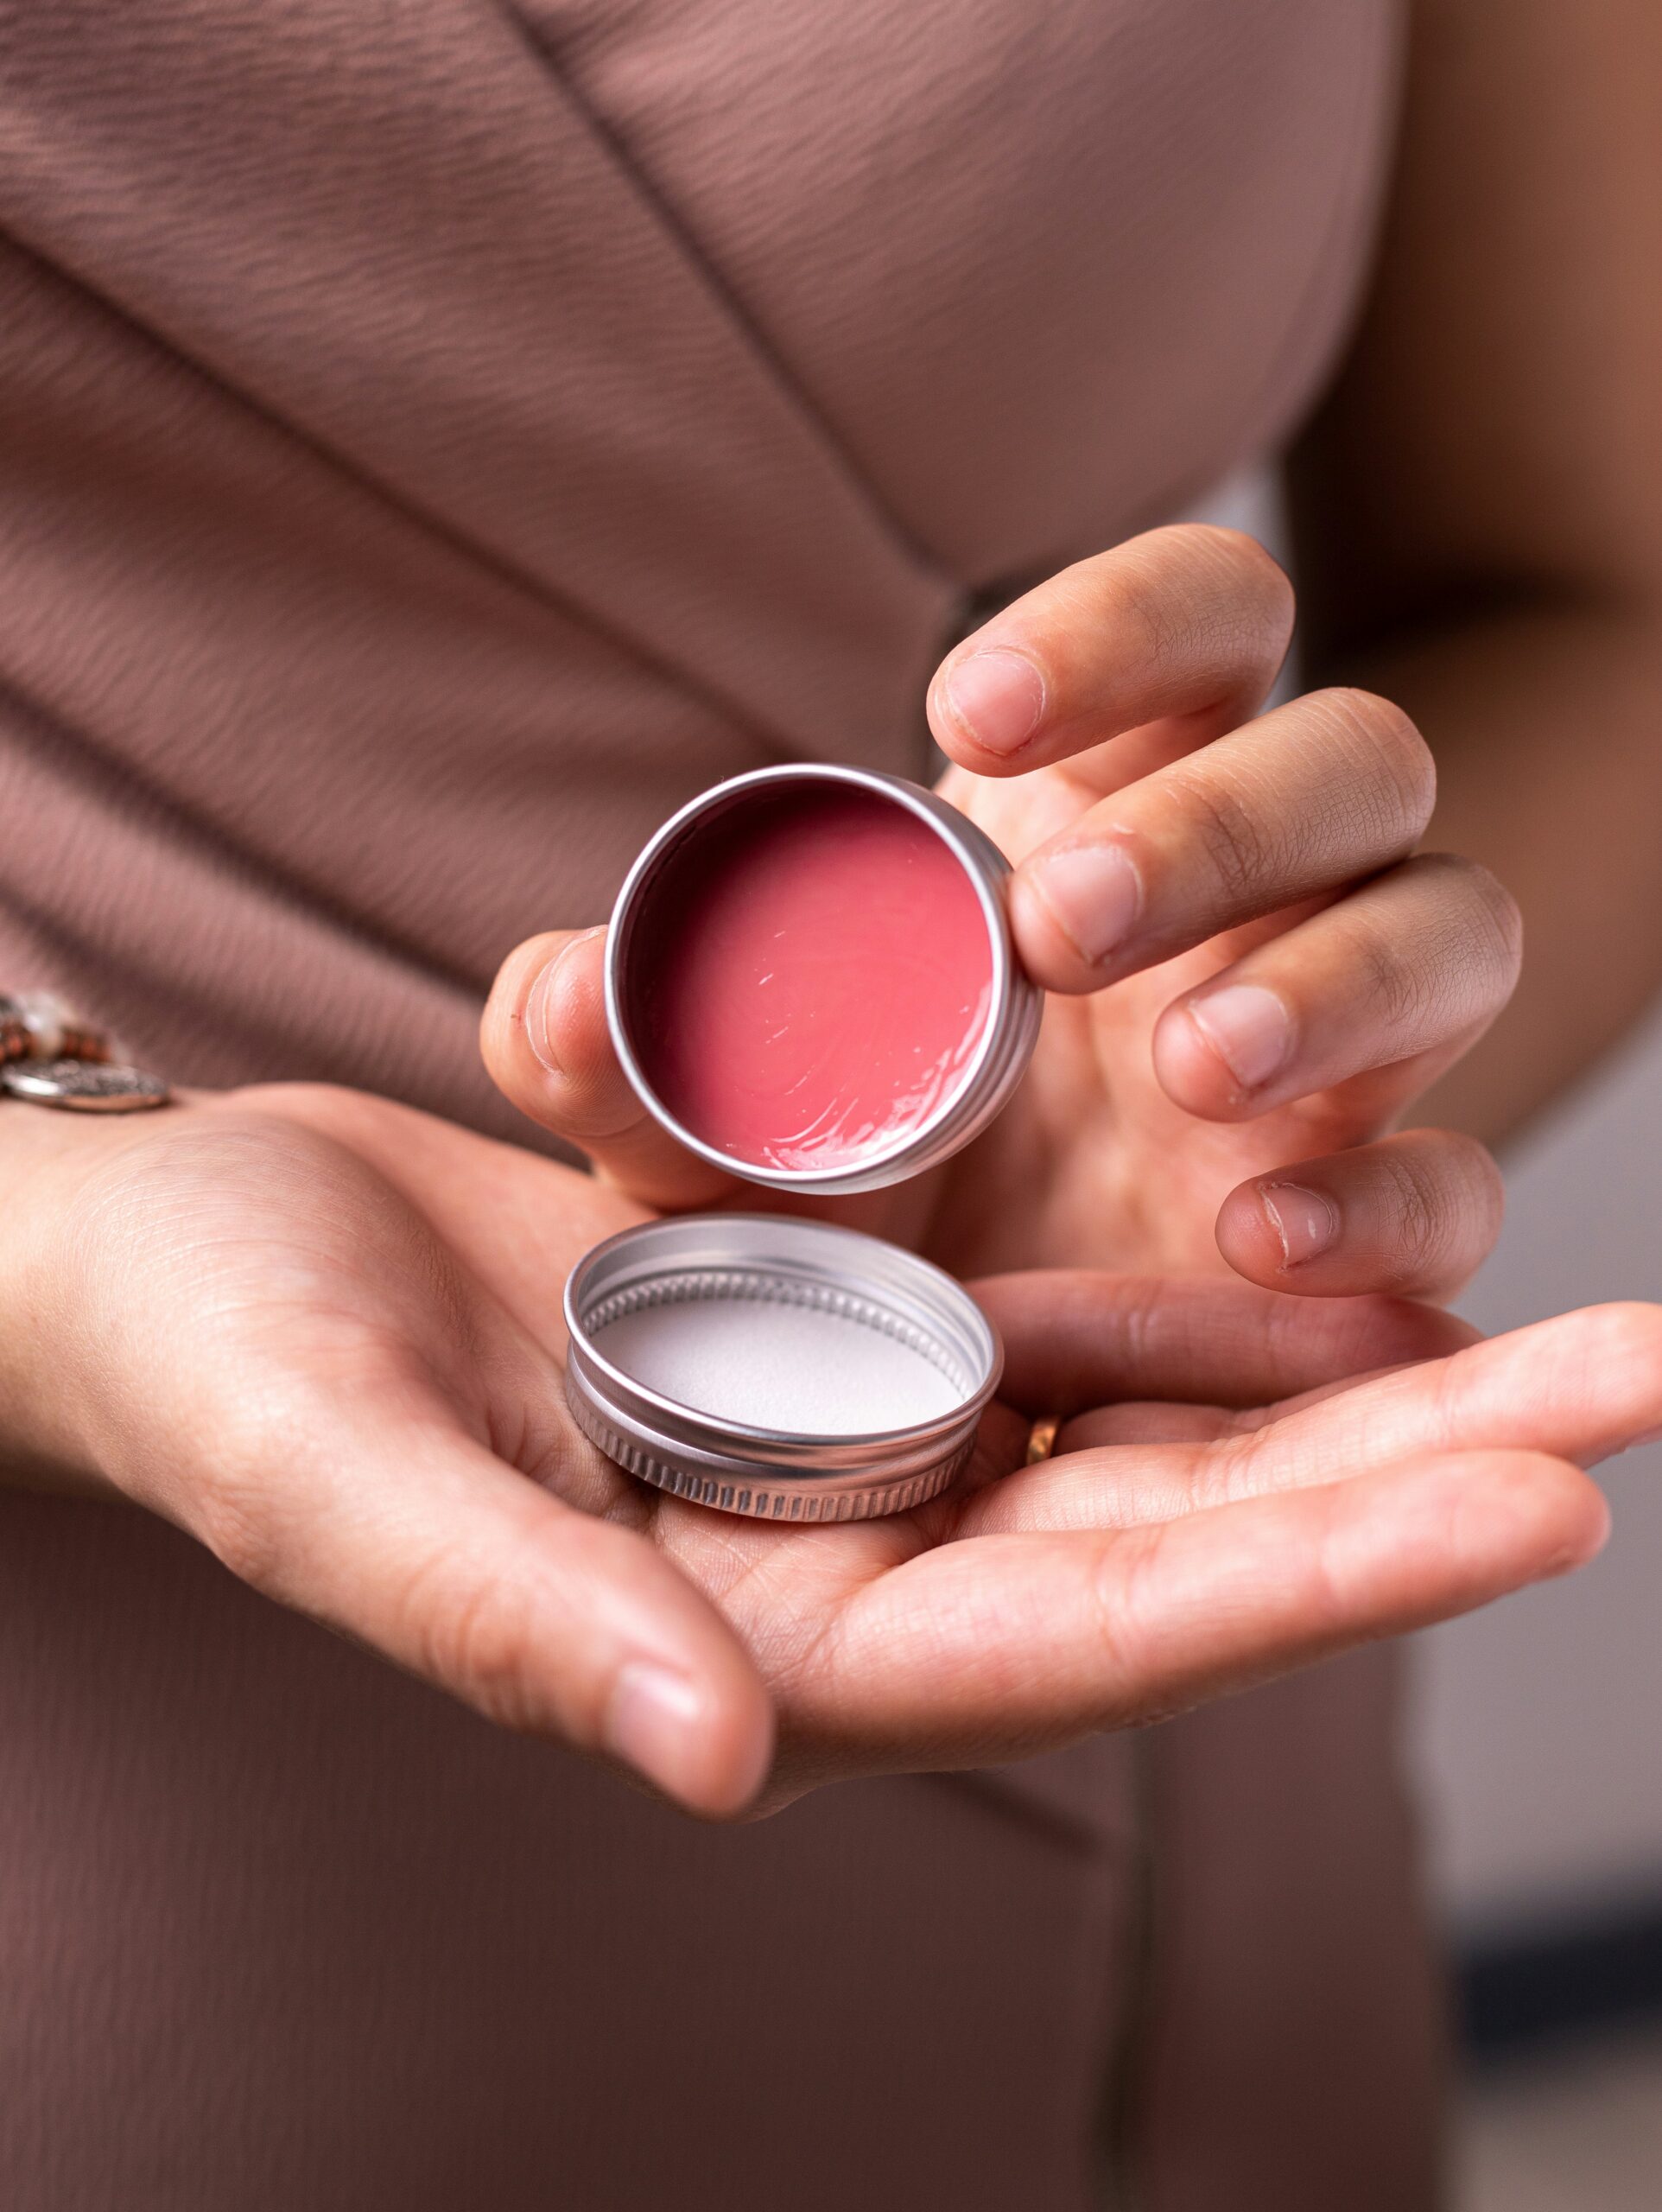
Jamie emphasises, “For complexions with rosacea, using blush can be a bit more challenging, but it is possible to beautifully enhance your look without amplifying redness. A light touch is key throughout the application of colour; creamy textures blend seamlessly and can be layered gradually, achieving a soft effect.”
In other words, blush isn’t just for certain faces; it’s for all faces, from the naturally pale to the perpetually sun-kissed. It’s the versatile hero that shapes, lifts, and warms a complexion in a way no highlighter or contour can quite replicate.
Apply colour to the apples of the cheeks blending upwards towards the temples, creating a seamless transition that mimics a natural flush.
Jamie Coombes
Feeling bold? Jamie recommends stronger berry shades instead of soft pinks and pretty corals. The right colour and formula can make all the difference, which is why we’ve rounded up six blushers worth sheltering from your spring clean.
6 blushers worth your attention
")


A light touch is key throughout the application of colour; creamy textures blend seamlessly and can be layered gradually, achieving a soft effect.
Jamie Coombes
Jamie’s easy blush application tips
Soft & natural
- Where: Apples of the cheeks, blend upwards toward temples.
- Effect: Mimics a natural flush, perfect for daytime or fresh-faced looks.
- Pro tip: Layer lightly; creams are ideal.
Defined & sculpted
- Where: Along the edge of the cheekbone, angled upward.
- Effect: Accentuates bone structure, giving subtle lift and dimension.
- Pro tip: Powder blushes blend seamlessly with contour.
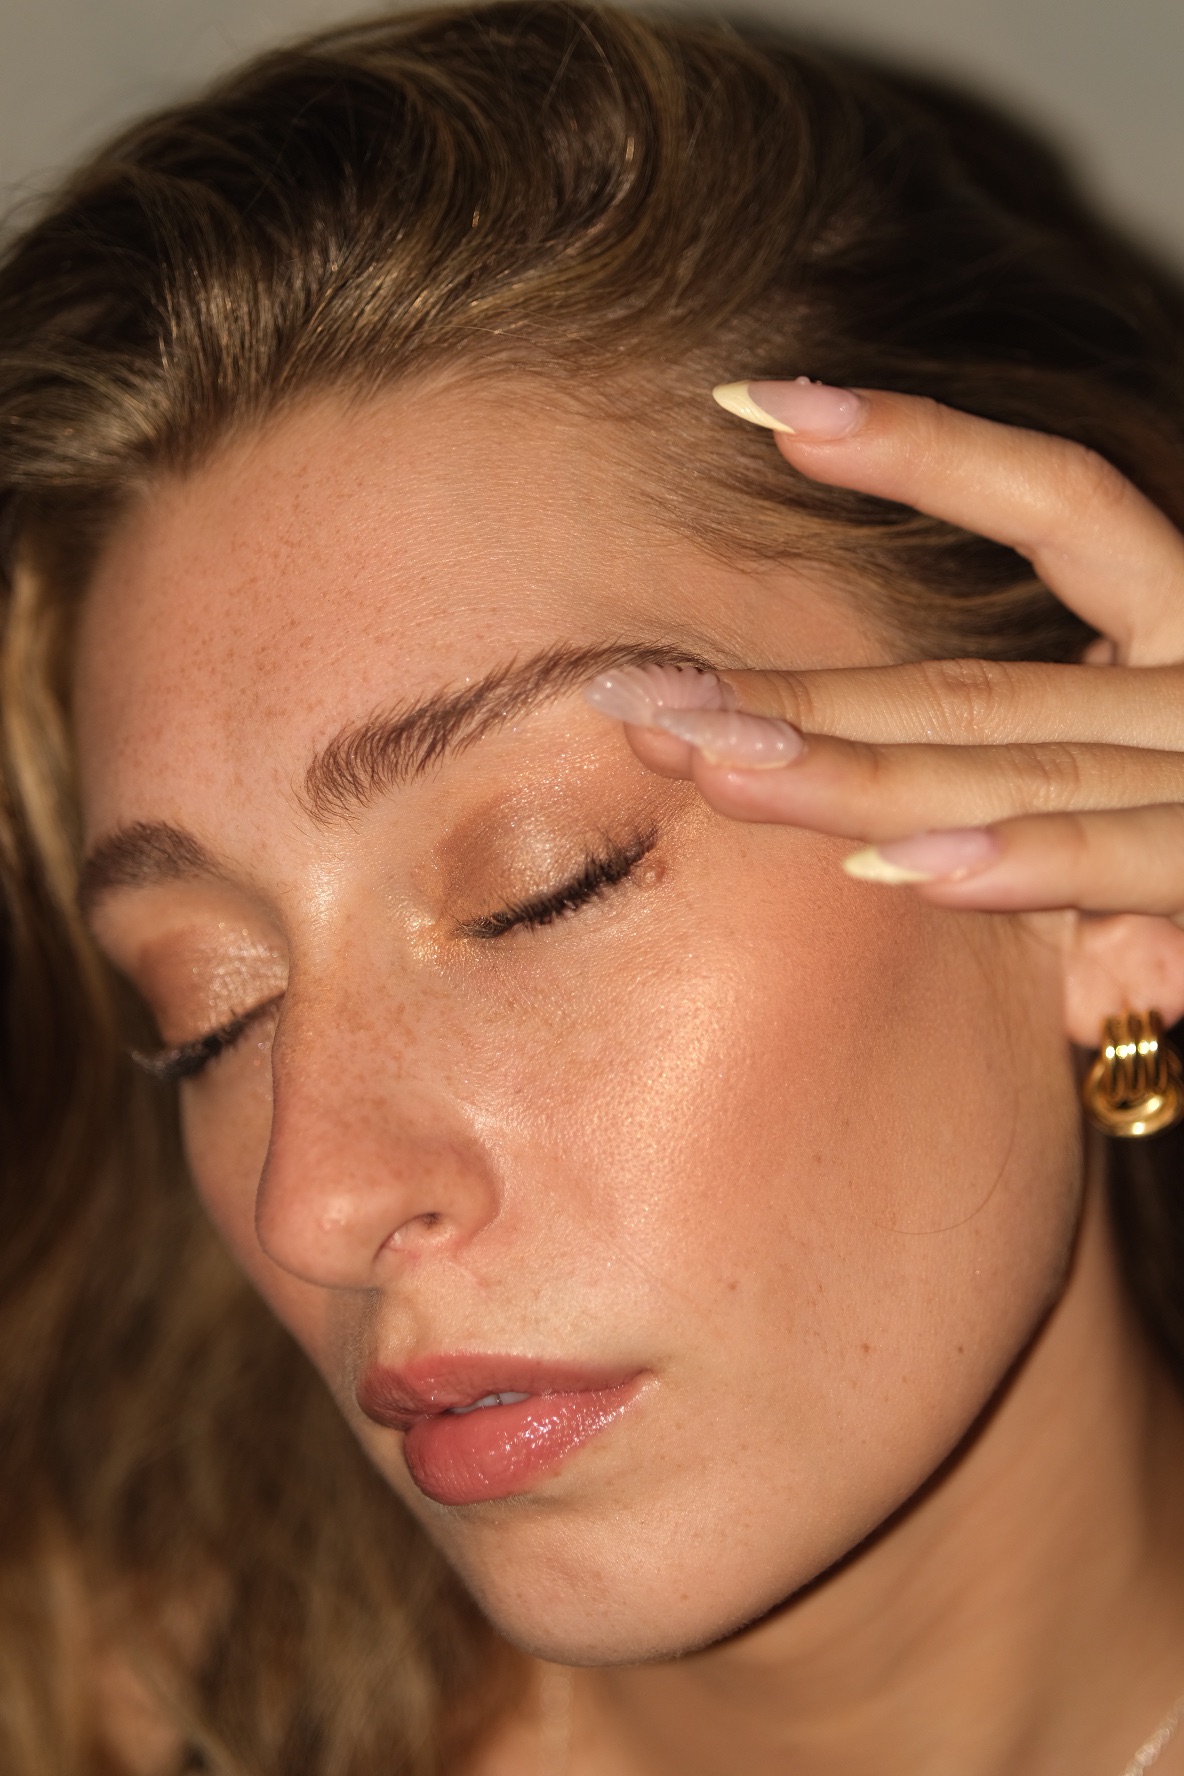
Sun-kissed radiance
- Where: Cheeks and bridge of the nose, where sunlight naturally hits.
- Effect: Gives a healthy, outdoor glow.
- Pro tip: Lightly layer bronzer for warmth without harsh lines.
Bold & statement
- Where: Apples of the cheeks, build in layers.
- Effect: Show-stopping, editorial-ready colour for nights or high-impact looks.
- Pro tip: Try a deep berry shade for instant drama.
Sensitive or rosacea-prone skin
- Where: Use a green colour-corrector first, then apply blush with a soft brush.
- Effect: Enhances colour without amplifying redness.
- Pro tip: Cream blushes blend gradually; avoid rubbing with fingers.
Quick fix/on-the-go
- Where: Small dab on apples, lightly blend.
- Effect: Instant lift for travel, meetings, or post-flight refresh.
- Pro tip: Stick formulas are travel-friendly and fuss-free.
Multi-use magic
- Where: Cheeks, temples, and a hint on eyelids.
- Effect: Cohesive monochromatic glow, modern style.
- Pro tip: Use formulas that double up as a highlighter and blush.
Layering like a pro
- Technique: Start light, layer gradually for intensity.
- Effect: Avoids streaking or over-saturation, suits any skin tone.
- Pro tip: Always blend upwards and outward to mimic a natural flush.
The products on this page have been selected by our editorial team, however, The Handbook may make a small commission on some products purchased through affiliate links.